
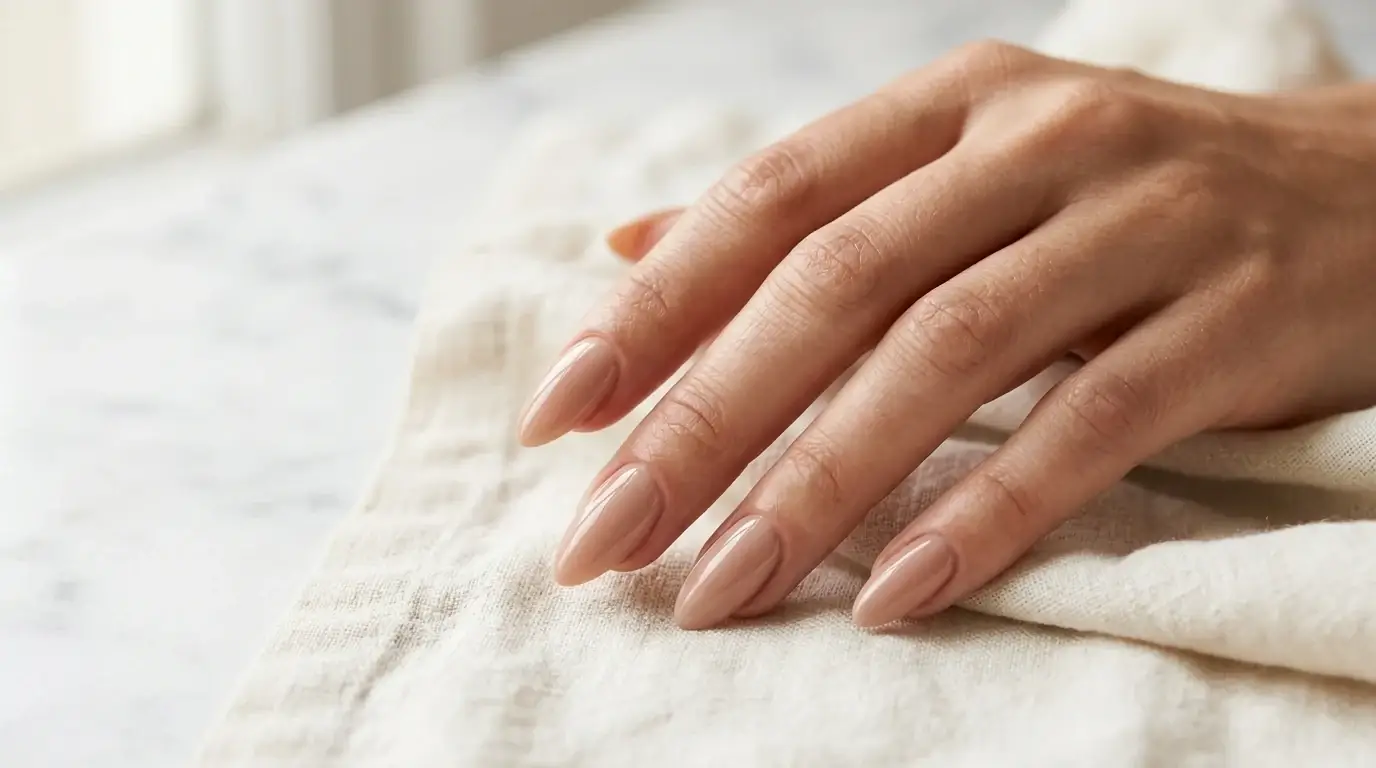
If your natural nails almost reach the length you want — then snap, peel, or bend at exactly the wrong moment — builder gel was made for you. It is the product behind most of the strong, glossy, ‘are those your real nails?’ manicures you see today, and unlike acrylic, you can learn to apply it at home with a gel lamp and some patience.
This guide explains what builder gel actually is, how it differs from gel polish, acrylic, and polygel, who it suits (and who should skip it), and the full step-by-step application, including the removal method that will not wreck your natural nails.
What Is Builder Gel?
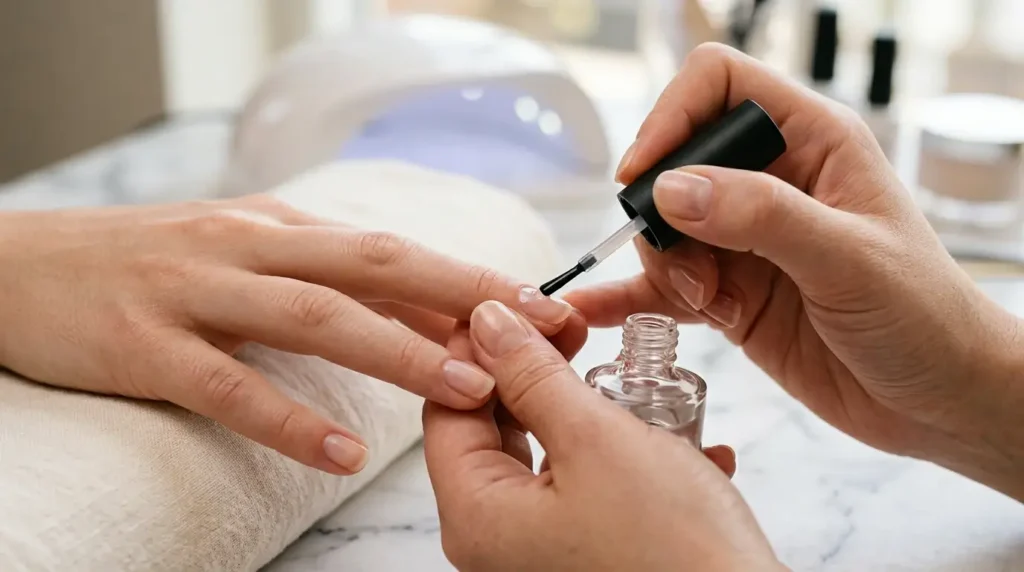
Builder gel is a thick, honey-like gel that is applied over the natural nail (or over tips/forms to build short extensions) and hardened — ‘cured’ — under a UV or LED lamp. Once cured it forms a strong, flexible layer that protects the natural nail underneath so it can grow without breaking. It comes in two main formats: builder gel in a pot, applied with a separate gel brush for maximum control, and builder in a bottle (often called BIAB), which brushes on like polish and is far easier for beginners.
Most builder gels are soak-off formulas, meaning they can be removed with acetone like gel polish, and many are designed as a strengthening overlay: your own nail, but armored.
Builder Gel vs Gel Polish vs Acrylic vs Polygel
| Builder Gel | Gel Polish | Acrylic | Polygel | |
| Strength | Strong, flexible | Thin, flexible only | Hardest, most rigid | Strong, lighter feel |
| Length it adds | Overlay + short extensions | None | Any length | Any length |
| How it hardens | UV/LED lamp | UV/LED lamp | Air (liquid + powder) | UV/LED lamp |
| Beginner friendly? | Yes, especially BIAB | Easiest | Hardest to learn | Yes, with dual forms |
| Removal | Soak off (most) | Soak off | Soak/file off | File + soak off |
| Best for | Growing weak natural nails | Color on healthy nails | Long, dramatic sets | At-home extensions |
Who Should (and Should Not) Get Builder Gel Nails
Builder gel is ideal if your nails are weak, bendy, peeling at the tips, or stuck at one length no matter what you try; if you want a natural look with real strength; or if you love almond and oval shapes at a short-to-medium length. Be cautious or skip it if you have a known allergy to gel products, if your nails or surrounding skin are damaged, infected, or inflamed (heal first, and see a doctor or dermatologist for anything painful or unusual), or if you cannot resist picking and prying product off — builder gel removed by force will take nail layers with it.
What You Need to Apply Builder Gel at Home
- Builder gel (a builder-in-a-bottle is the easiest starting point) in a nude, pink, or clear shade
- Base coat and no-wipe top coat from a compatible system, plus cuticle oil for afterwards
- UV/LED lamp matched to your gel system (follow the brand’s stated cure times)
- 180/240-grit file, fine buffer, cuticle pusher, lint-free wipes, and 90%+ alcohol or cleanser
- Nail dehydrator and acid-free primer/bonder if your nails are oily or prone to lifting
- Gel brush (for pot builder), nail forms or tips only if you plan to build extensions
How to Apply Builder Gel Nails Step by Step
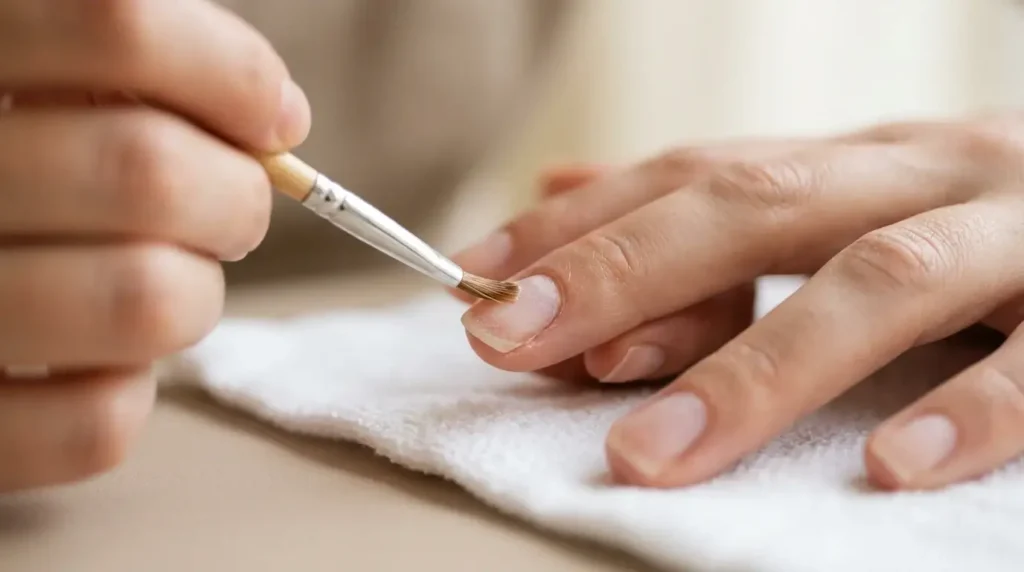
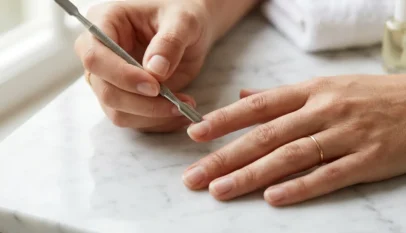
- Prep properly. Remove old product, shape, gently clear cuticle film from the plate, lightly buff off the shine, cleanse, dehydrate, and apply a thin acid-free primer. Our complete nail prep guide walks through each step — do not skip it, because builder gel on unprepped nails lifts within days.
- Apply a thin base coat over the whole nail, keeping it 1 mm from skin, and cure as directed.
- Add a thin ‘slip’ or scrub layer of builder gel over the nail without curing — this wet layer helps the next bead glide.
- Place a small bead of builder gel near the center of the nail and float it side to side and toward the tip, building a gentle arch (the apex) slightly behind the middle of the nail. That arch is where the strength lives. Keep gel off the skin; tidy edges with a clean brush or orange stick before curing.
- Cure fully for the manufacturer’s stated time. If your lamp is older, cure longer rather than shorter — under-cured gel is a common cause of both lifting and skin sensitivity.
- Repeat with a second thin structured layer if your nails are long or very flexible. It is better to build strength in two thin layers than one thick, runny one.
- Wipe the sticky layer if your system requires it, refine the shape with a file, then seal with top coat, cap the free edge, and cure. Finish with cuticle oil once everything is fully cured.
How Long Do Builder Gel Nails Last?
With good prep, expect 3–4 weeks of wear before the growth gap at the cuticle makes them look untidy. Most people maintain builder gel with an infill (rebalance) every 2–3 weeks instead of a full removal, which is gentler on the natural nail. Growth speed, how much you type, garden, or wash dishes without gloves, and how thinly and cleanly you applied the product all change the timeline.
How to Remove Builder Gel Safely
File off the top coat and roughly 50–70% of the builder layer with a hand file (an e-file only if you are trained — never file into your natural nail). Then wrap each nail in acetone-soaked cotton secured with foil for 10–15 minutes and gently push the softened gel off with an orange stick. If it resists, re-wrap for five more minutes instead of forcing it. Wash, lightly buff only if needed, and drench your nails in cuticle oil afterwards. Most soak-off builder gels release cleanly this way; hard gels must be filed off and are best left to a professional.
5 Builder Gel Mistakes Beginners Make
- Getting gel on the skin or cuticle. It causes lifting within days and can lead to sensitivity over time. Clean edges before every cure.
- Building no apex on long or flexible nails, so the stress point snaps exactly where it always snapped.
- Curing thick layers for the minimum time. Under-cured gel stays soft inside and fails early.
- Skipping prep because ‘builder is strong.’ Strength does not compensate for oil and cuticle film on the plate.
- Prying off lifted corners. File the lift smooth or soak the set off; force removes your nail plate in layers.
Frequently Asked Questions
Is builder gel the same as BIAB?
BIAB stands for ‘builder in a bottle’ — it is builder gel packaged like a polish for easier application. The concept and wear are the same; pot builder simply gives more control for building structure and extensions.
Can builder gel extend my nails?
Yes, by a few millimetres over tips or forms. For long extensions, many beginners find polygel with dual forms easier, while acrylic remains the salon standard for extreme lengths.
Does builder gel damage natural nails?
The product itself does not damage nails; damage comes from over-filing the natural nail, forcing product off, or getting uncured gel on skin repeatedly. Gentle prep and soak-off removal keep natural nails healthy underneath.
Can I put regular polish over builder gel?
Yes. Apply regular polish over the cured builder (ideally over its top coat), and remove it later with non-acetone remover so you do not soften the gel underneath.
Why is my builder gel lifting after a few days?
Check, in order: incomplete prep or cuticle film left on the plate, gel touching skin at the edges, layers too thick or under-cured, and very oily nail beds that needed dehydrator plus primer. Our nail prep guide troubleshoots each one.
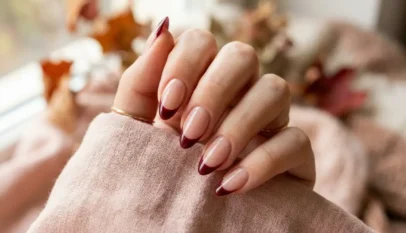
Builder gel rewards patience more than talent: prep well, work thin, cure fully, and your natural nails finally get the protection they need to grow. Pair the strength with a flattering shape from our almond nail ideas, and you have the exact manicure all over your feed.


How to Prep Nails Properly: The Step-by-Step Routine That Makes Any Manicure Last
Here is the frustrating truth about home manicures: the polish is rarely the problem. Gel …