
Here is the frustrating truth about home manicures: the polish is rarely the problem. Gel that peels in three days, dip that lifts at the cuticle, polish that chips by Friday — almost all of it traces back to what happened before the first coat touched the nail. Nail prep is that invisible half of the manicure, and it is the difference between a set that lasts three days and one that lasts three weeks.
This guide gives you the exact nail prep routine used for gel, acrylic, dip powder, polygel, and regular polish, explains what dehydrators and primers actually do (and when to skip them), and lists the prep mistakes that quietly ruin otherwise perfect work.
What Is Nail Prep — and Why Does It Decide How Long Your Nails Last?
Nail prep is the sequence of cleaning, shaping, cuticle care, and surface preparation performed on the natural nail before any product is applied. Your nail plate is covered in natural oils and microscopic moisture. Products cannot bond to oil — they bond to a clean, dry, slightly textured surface. Every prep step exists to create that surface and to remove the things that push product off: oil, water, dead skin, and shine.
What You Need for Proper Nail Prep
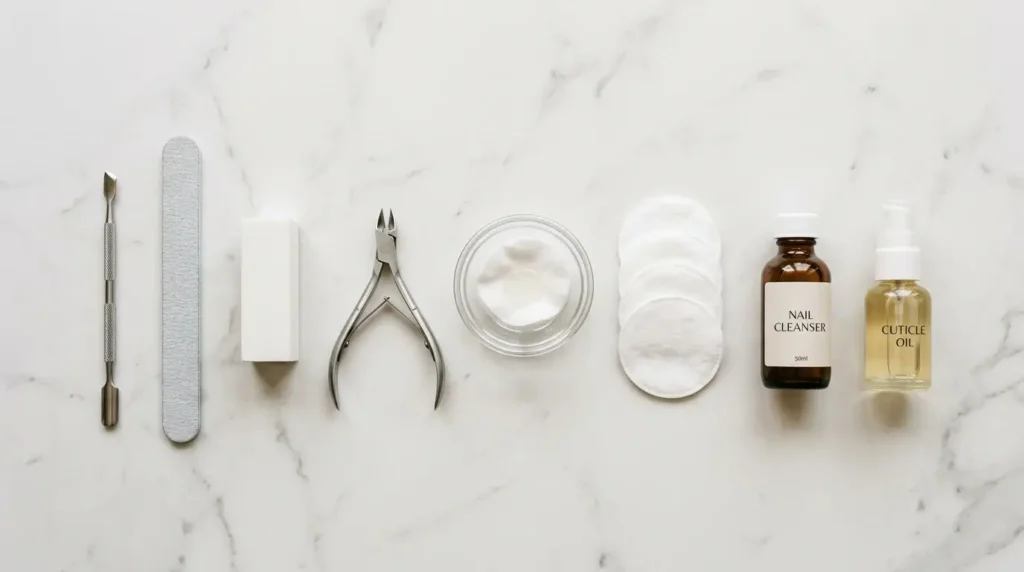
- Nail polish remover or acetone (for old product), cotton pads, and a small bowl if soaking
- Nail clippers and a 180/240-grit file for shaping, plus a fine buffer block
- Cuticle pusher (metal or orange stick) and, only if you are trained and comfortable, cuticle nippers
- Lint-free wipes and 90%+ isopropyl alcohol or a dedicated nail cleanser
- Nail dehydrator (optional but powerful for oily nail beds)
- Primer or bonder matched to your system — acid-free for gel and most home systems
- Cuticle oil for after your manicure is finished (never before product application)
How to Prep Nails Step by Step
Step 1: Remove every trace of old product
Old polish, gel, or dip must come off completely. Soak gel and dip off with acetone rather than prying or peeling — peeling rips layers off your natural nail and guarantees the next set will lift, because the surface left behind is thin and damaged.
Step 2: Shape the nail and tidy the free edge
Clip if needed, then file in one direction with a fine file to your chosen shape. Sealing the free edge now also matters for regular polish later, so do not rush this step.
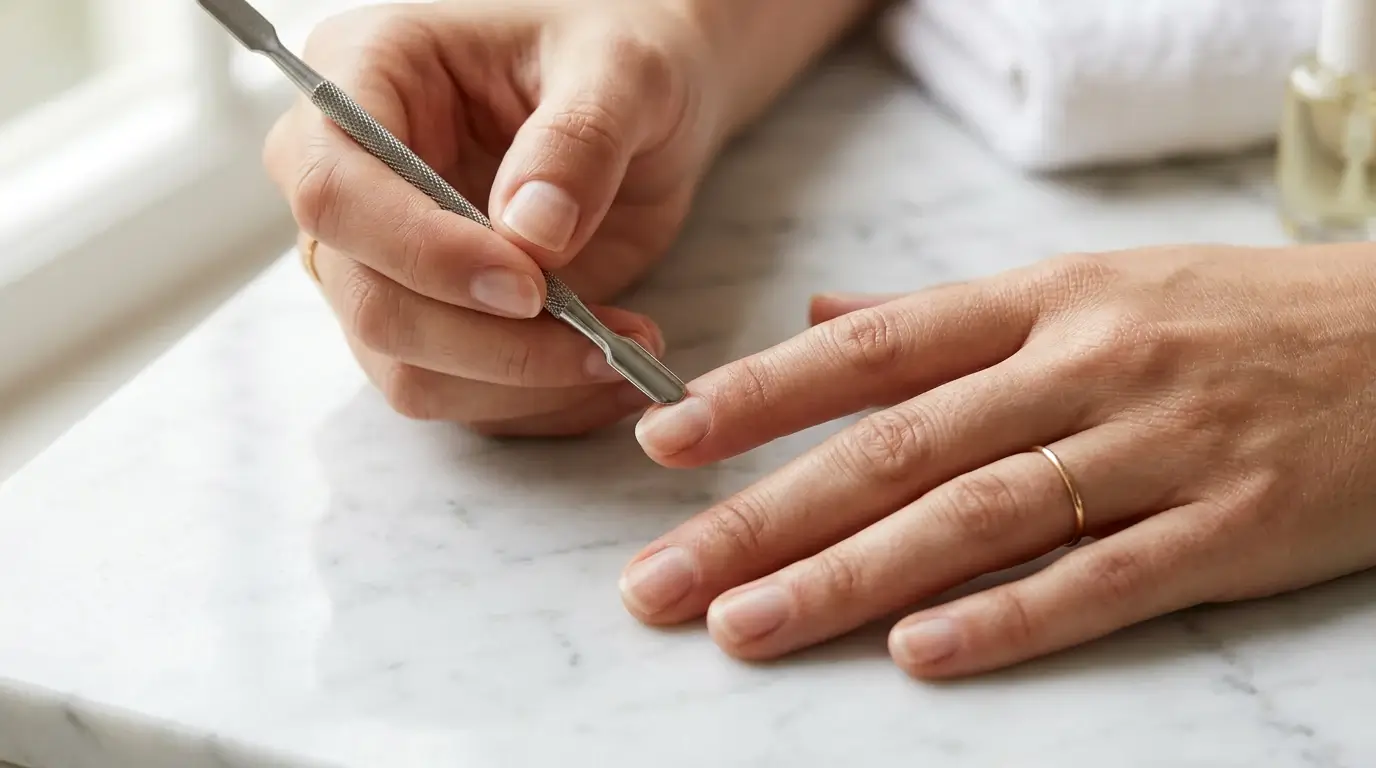
Step 3: Gentle cuticle work
Soak fingertips in warm water for a few minutes (skip the soak entirely before acrylic or dip — water swells the nail plate), soften with cuticle remover, then gently push the cuticle back and lift the thin, translucent layer of dead skin (the true cuticle) off the plate. This invisible film is the number one cause of lifting at the base, so remove it carefully without gouging the nail. Only trim loose, hanging skin — never cut living tissue.
Step 4: Remove the shine, lightly
With a fine buffer, gently scuff the entire nail plate until it looks matte, including the sidewalls and near the cuticle. You are removing shine, not nail. Heavy filing thins the nail and causes sensitivity, so a few light passes are enough for gel and dip; acrylic systems may need a slightly more thorough etch done with a 180-grit file.
Step 5: Cleanse and dehydrate
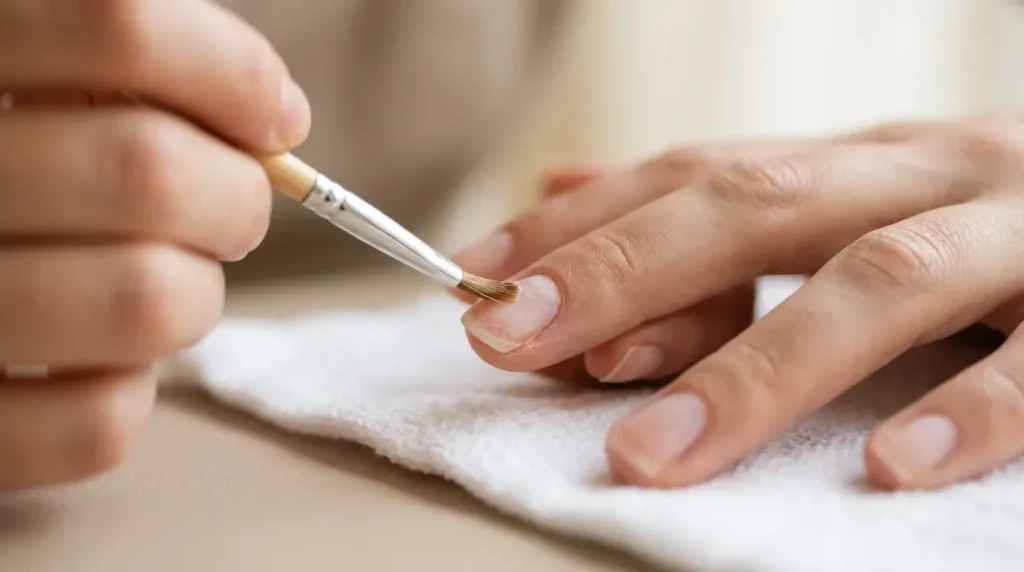
Dust off, then scrub each nail with a lint-free wipe soaked in alcohol or cleanser. Follow with a nail dehydrator if your nails are oily or your sets historically lift early. Dehydrator temporarily removes surface moisture and oil for about 30 minutes — the perfect window to apply product. Your nail will look chalky white; that is exactly right.
Step 6: Primer or bonder — thin, and only where product goes
Apply primer sparingly to the natural nail only, avoiding skin. Acid-free primer acts like double-sided tape for gel, dip, and polygel and is the safe default for home users. Acid-based (methacrylic) primers are professional products for stubborn lifting with acrylic; they can burn skin and damage nails if misused, so beginners should not start there.
Step 7: Apply your base within the window
Go straight into your base coat, builder, dip base, or acrylic while the nail is still dehydrated. Touch nothing with your fingertips from this point — one fingerprint re-deposits the oil you just removed.
Nail Prep Differences by System
| System | Soak before? | Dehydrator | Primer/Bonder | Key extra |
| Regular polish | Yes, fine | Optional | Base coat instead | Seal the free edge with every coat |
| Gel polish | Avoid long soak | Recommended | Acid-free bonder if you lift | Thin base, cap the edge |
| Dip powder | No | Yes | Dip base system liquids | Keep liquids off skin, work in a ventilated space |
| Builder gel / polygel | No | Yes | Acid-free primer | Rub a thin ‘scrub’ layer of gel into the nail first |
| Acrylic | No | Yes, essential | Professional primer (trained use) | Never let monomer touch skin; ventilation matters |
7 Nail Prep Mistakes That Cause Lifting and Chipping
- Applying cuticle oil before product. Oil is for after the top coat is cured — before, it is a bond-breaker.
- Skipping the invisible cuticle film on the nail plate, then wondering why everything lifts from the base.
- Soaking nails in water right before acrylic or dip. Swollen plates shrink as they dry and push product off.
- Over-filing until the nail is thin and pink. You removed the nail, not just the shine.
- Touching the prepped nail with fingertips, hair, or clothing before base coat.
- Flooding primer onto skin, which causes irritation and can lift product at the edges.
- Using dehydrator or primer on broken, inflamed, or infected nails. Heal first — see a professional if you have pain, swelling, or discoloration.
Frequently Asked Questions
Is dehydrator the same as primer?
No. Dehydrator only removes oil and moisture temporarily. Primer or bonder actually helps product adhere. Many routines use both, in that order; some gel systems only need a bonder.
Can I prep nails without primer?
Yes, many people get excellent wear from gel polish with cleansing, buffing, and a good base coat alone. Add primer if you have oily nail beds or repeated lifting.
How long does nail prep take?
About 10–15 minutes once it is a habit. It feels long compared with painting, but it is what buys you two to three weeks of wear.
Should I use cuticle oil after prep?
Only after your manicure is completely finished and cured. Used daily afterwards, cuticle oil actually extends wear by keeping the nail flexible and less prone to cracking.
Why do my nails lift at the cuticle after a few days?
Almost always the invisible cuticle film was left on the plate, product touched the skin, or the base flooded the cuticle area. Revisit steps 3, 6, and 7 — thin coats kept 1 mm away from skin fix most cases.
Master this routine and every other tutorial on Nail Art Daily gets easier: start with our step-by-step nail art tutorial for beginners, then put your prep to work with builder gel nails or dip powder nails when you are ready for a longer-lasting set.


30 Cat Eye Nail Ideas That Shine From Every Angle
Some manicures change completely when the light moves. That is exactly what cat eye nails …


