
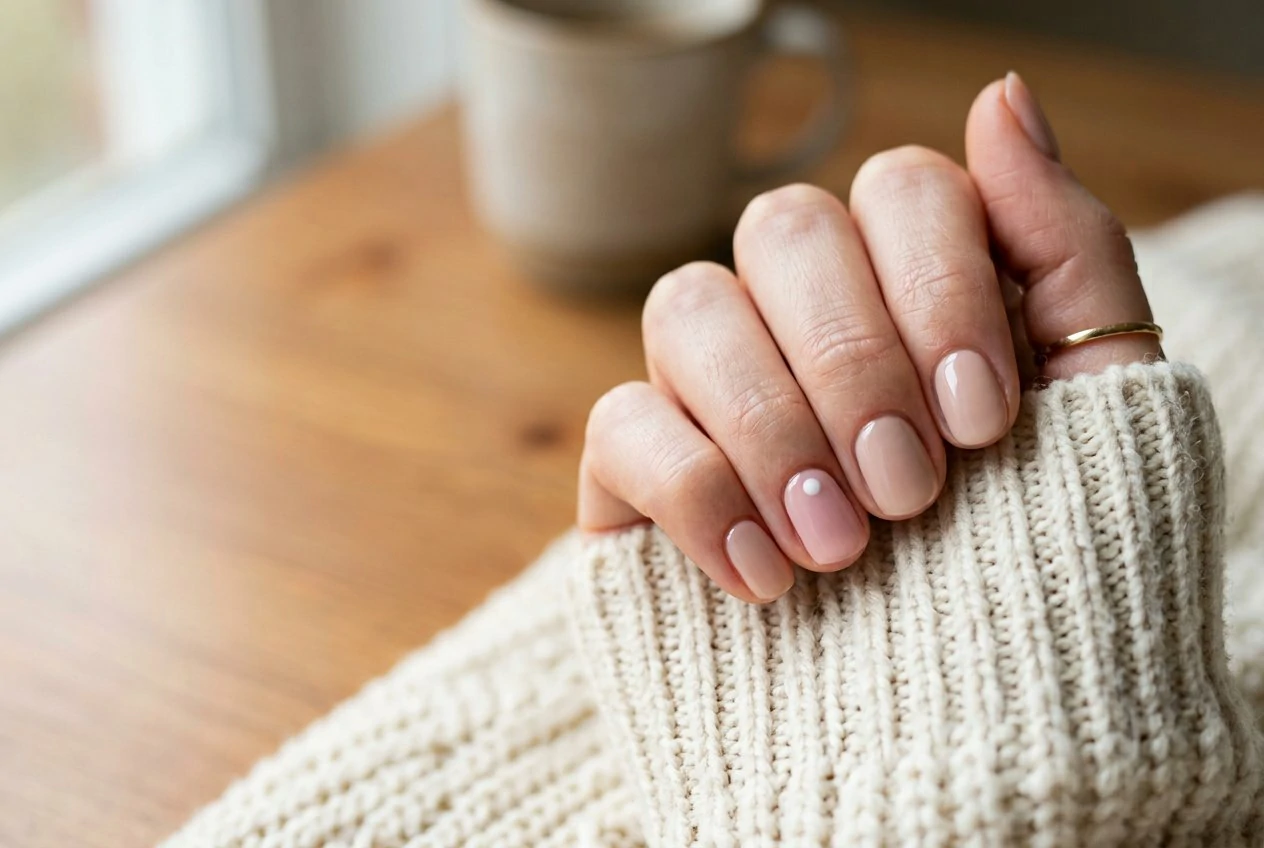
You do not need salon training to wear good nail art. Most of the designs people love most are built from a few simple moves: a solid base, one accent nail, a dot, a line, or a clean tip. This guide gathers 30 easy nail designs for beginners, sorted from the simplest to slightly more involved. Each one needs only a base polish and up to two extra tools, such as a dotting tool or striping tape.
Start Here: Tools You Need
- A base coat and a glossy top coat
- Two or three polish colors
- A dotting tool or a toothpick
- Striping tape for straight lines
- A small cotton swab and remover for clean edges
Accent Nail Designs (5 minutes)
1. One Accent Nail
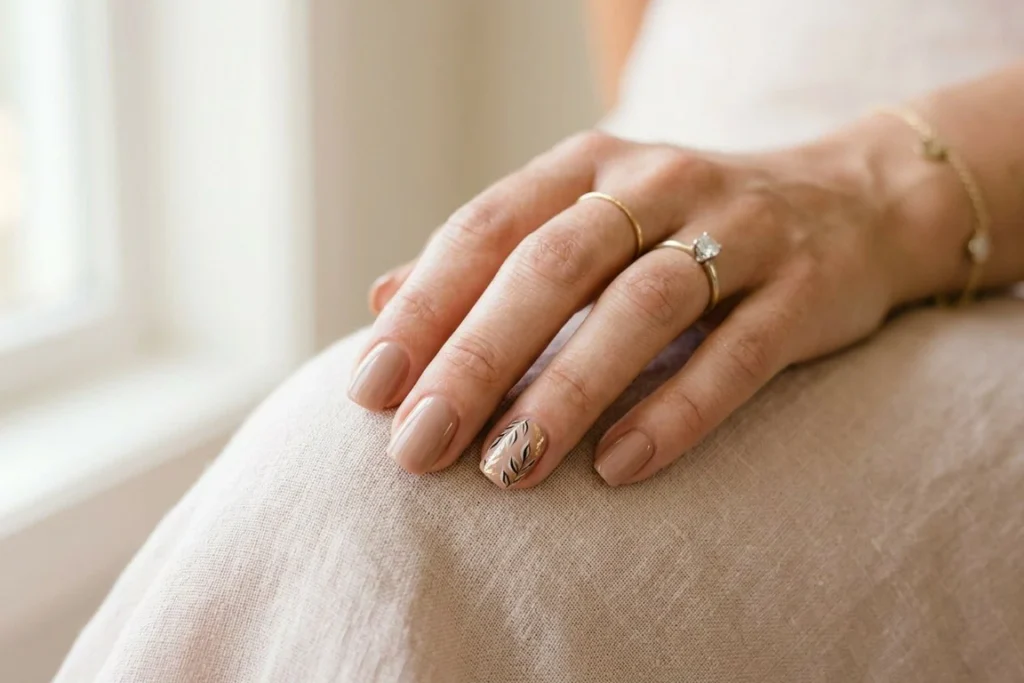
Paint all nails in one neutral and add a single color accent on the ring finger. It is the easiest way to look planned.
2. Nude with a Pink Accent

Use a sheer nude on most nails and one blush pink accent. The contrast is soft and flattering.
3. Gold Line on the Ring Finger
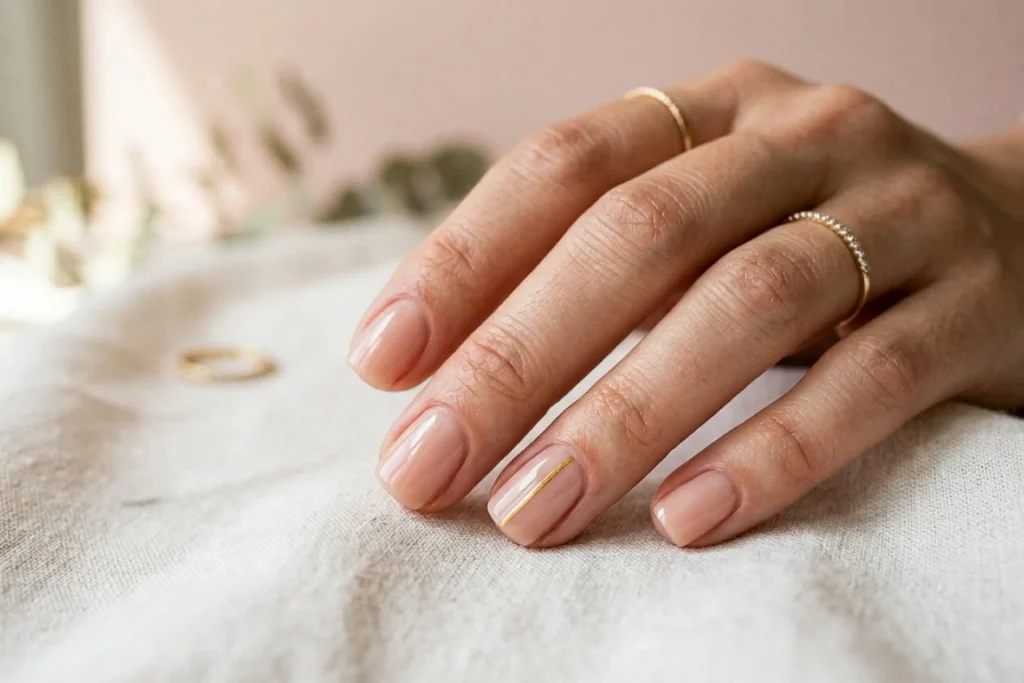
Add one thin gold line across the nail. A striping brush makes this easy.
4. Single Dot Accent

Place one white or gold dot at the center of an accent nail. It looks intentional without needing a steady hand.
5. Two-Tone Hands

Use one color on the thumb, index, and pinky, and another on the middle and ring fingers.
Dot Designs
6. Polka Dot Tips
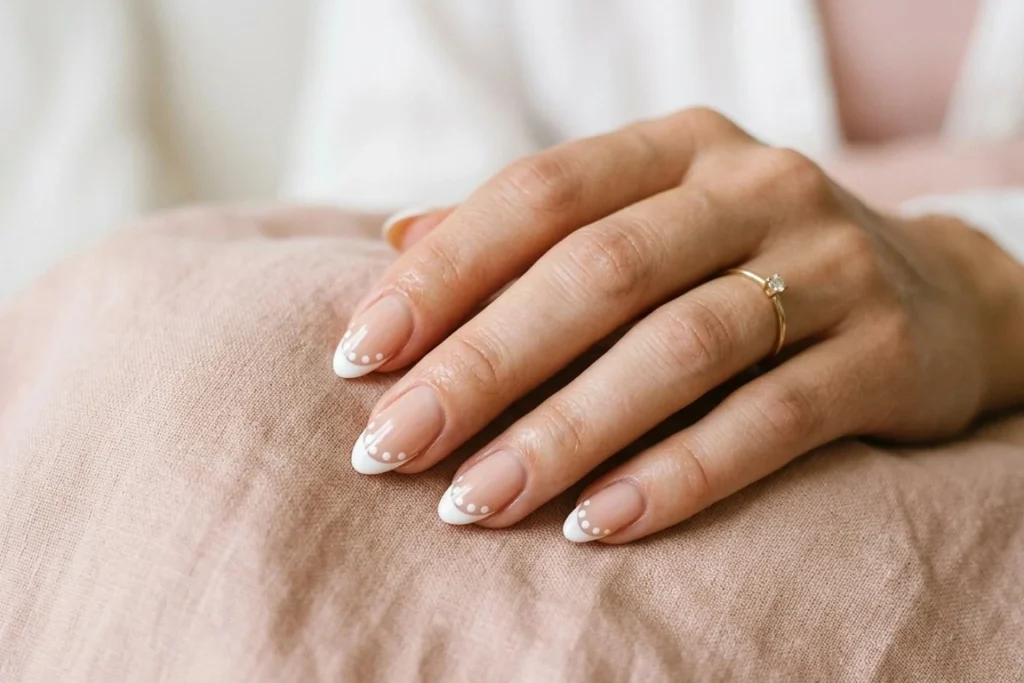
Place three to five dots along the tip of each nail. Keep the spacing even by using the same tool.
7. Dot Border
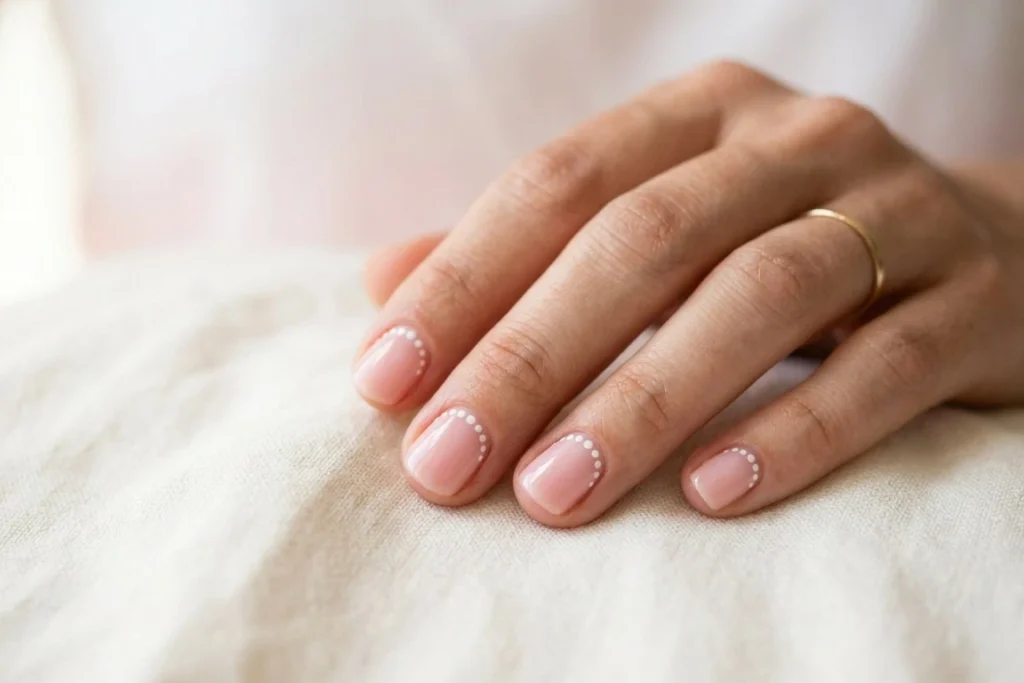
Create a row of small dots along the cuticle. This works on any base color.
8. Gradient Dots
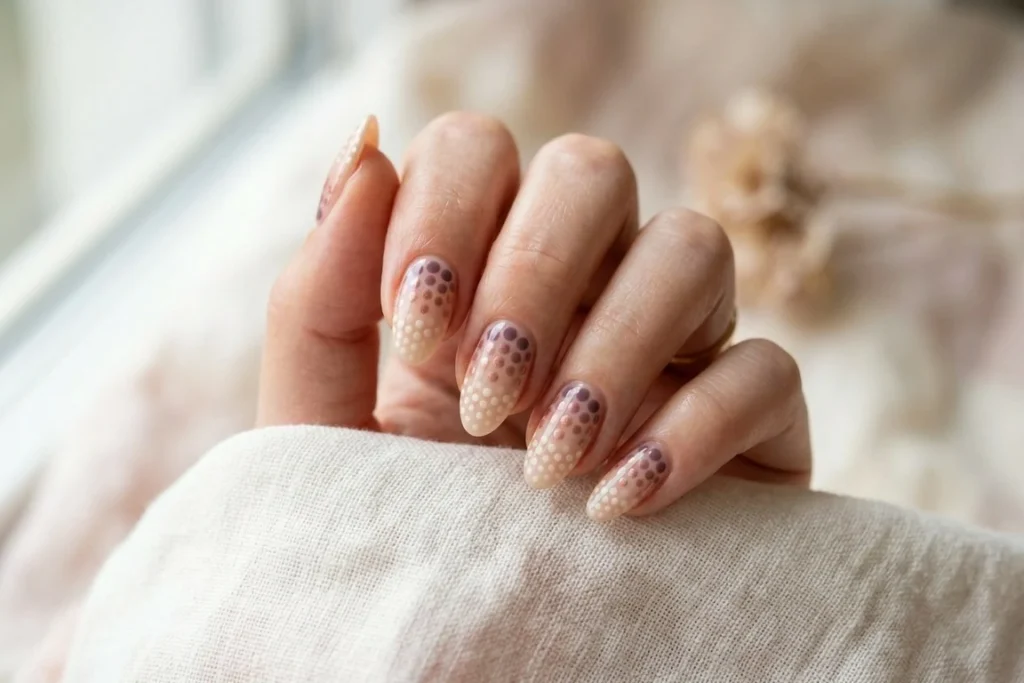
Start with large dots near the base and smaller dots toward the tip for a simple sense of depth.
9. Dot Flower

Place five small dots around one larger dot to make a flower. Use two colors for contrast.
10. Dot Mix

Use two sizes and two colors of dots on one accent nail for a playful look.
Simple Tips and French Designs
11. Classic French Tip
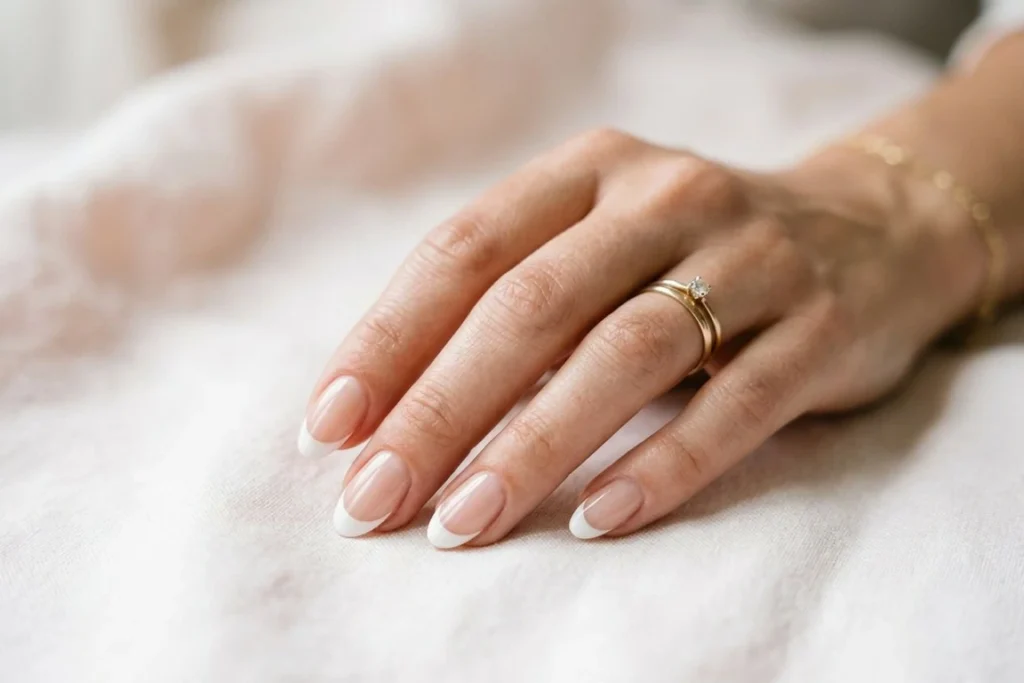
Use a sheer base and a white tip. Paint the tip with a steady, curved line.
12. Colored French Tip
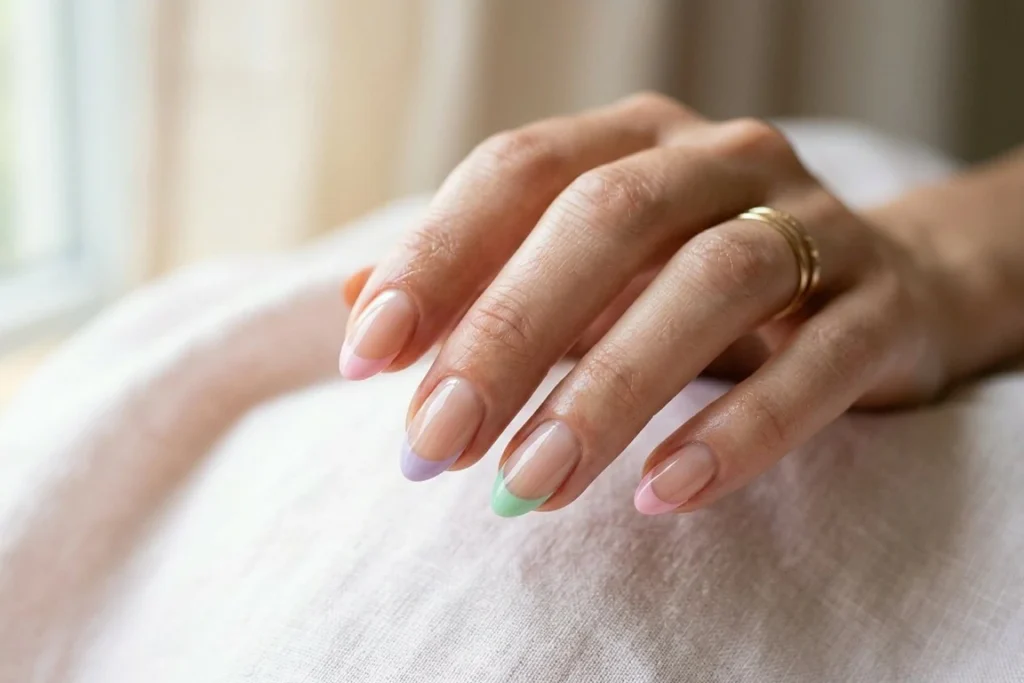
Replace white with pastel pink, mint, or lilac for a fresh twist.
13. Half-Moon Tip
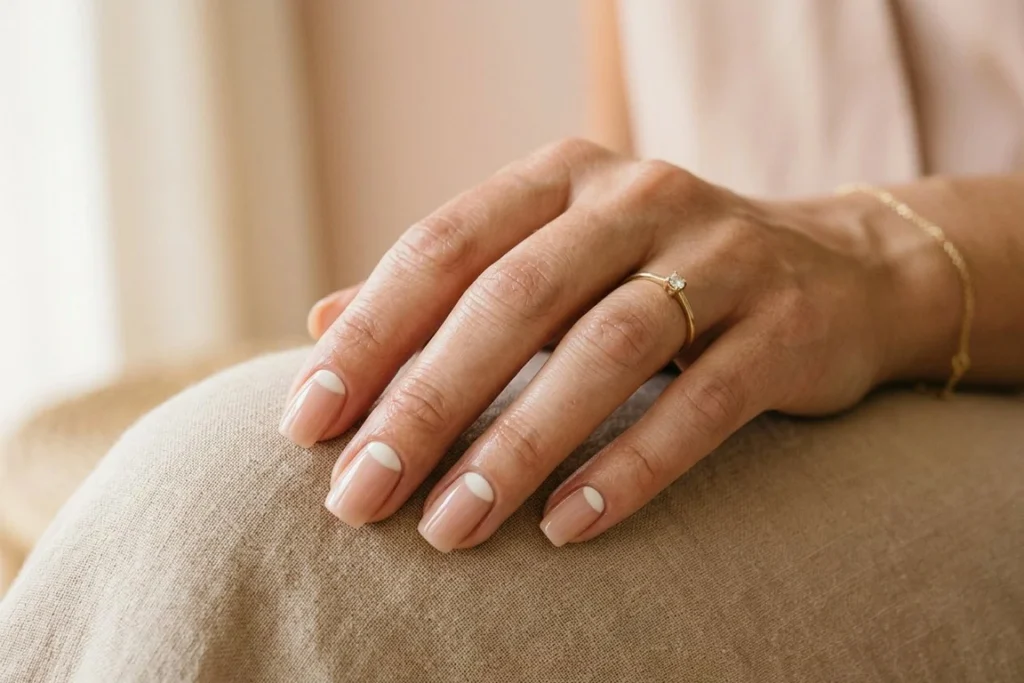
Paint a thin curve at the base of the nail. It is easier than a full French tip and looks modern.
14. Glitter Tip
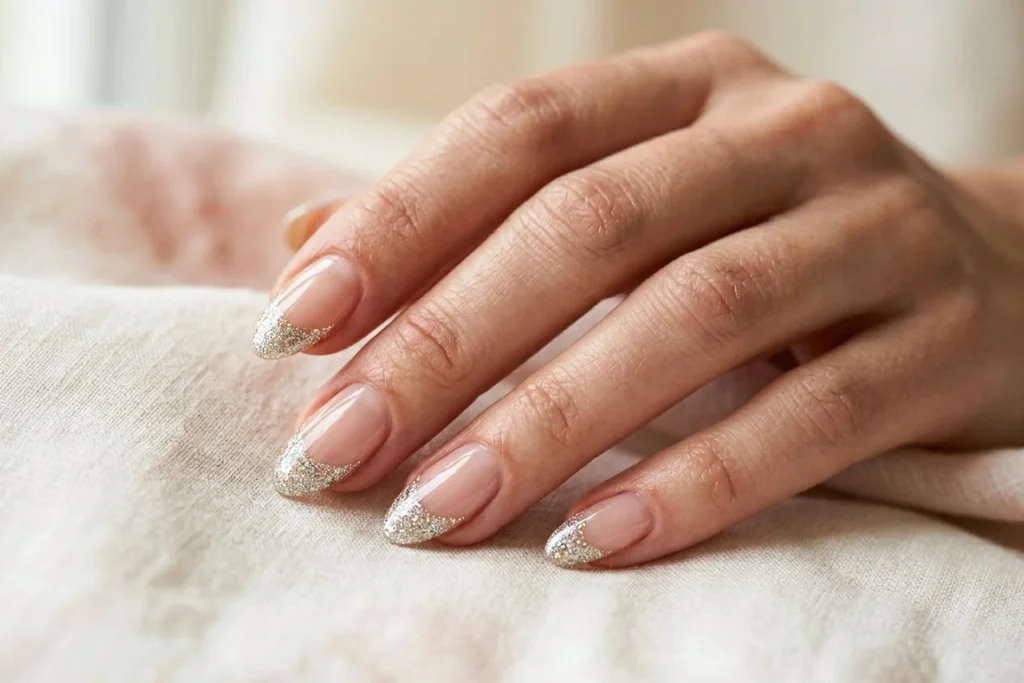
Dip only the tip in fine glitter or apply glitter polish to the edge. No extra detail is needed.
15. Double Line Tip
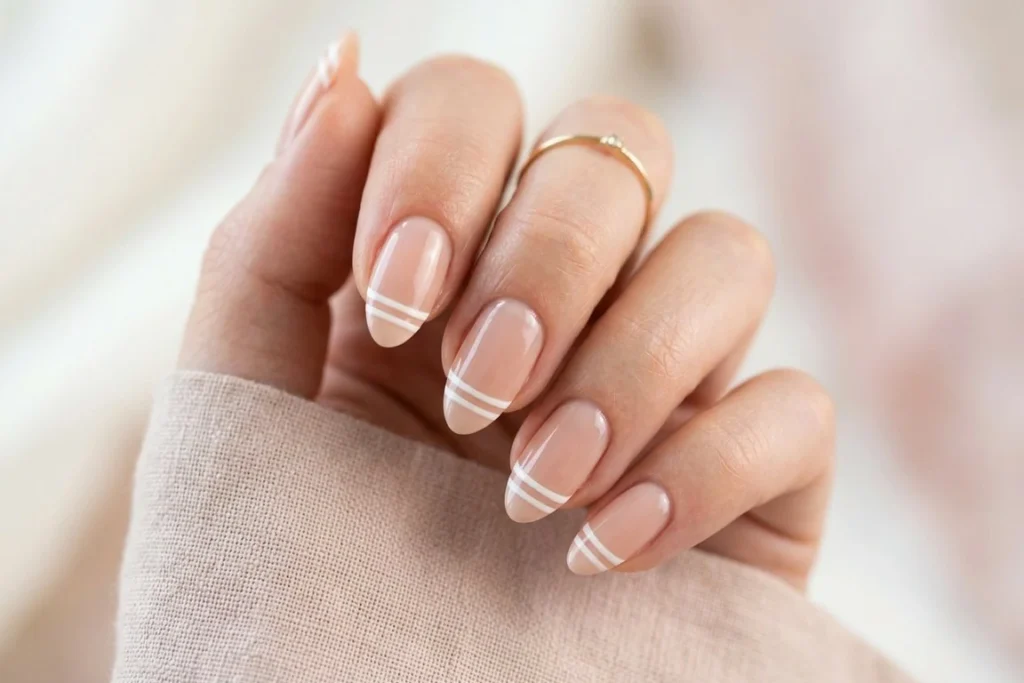
Use two thin lines near the tip. Take your time and let each line dry before adding the next.
Stripe Designs
16. Diagonal Stripes
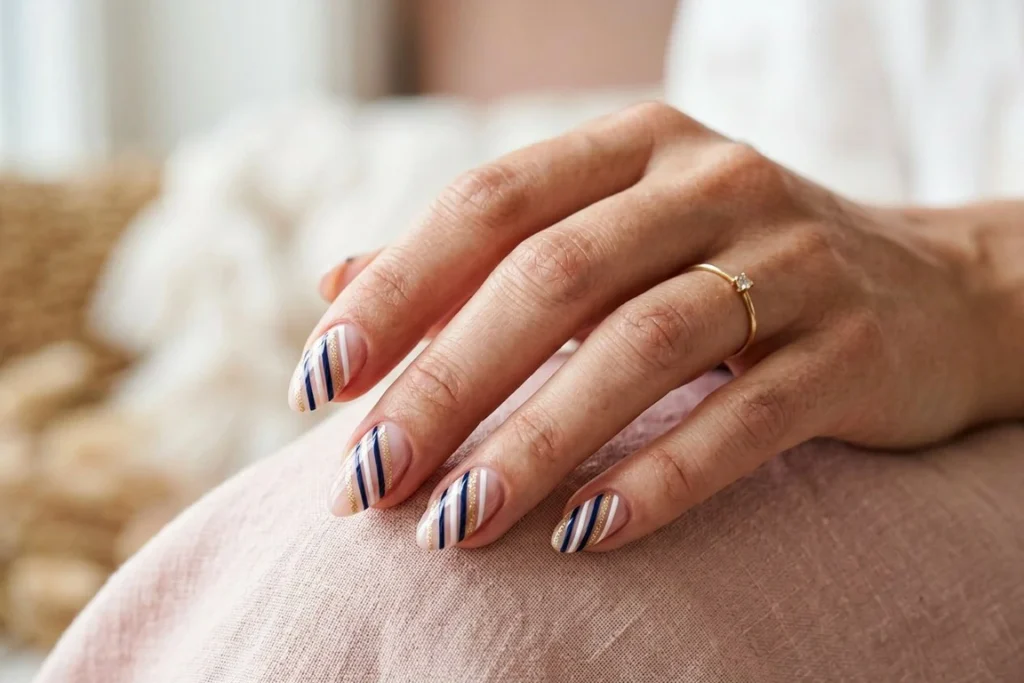
Use striping tape to create straight diagonal lines over a solid base. Remove the tape while the polish is still slightly soft.
17. Vertical Stripes

Stripes running from cuticle to tip make short nails look longer.
18. Horizontal Stripes

Stripes across the nail look playful and work well with pastel colors.
19. Thin Line Accent
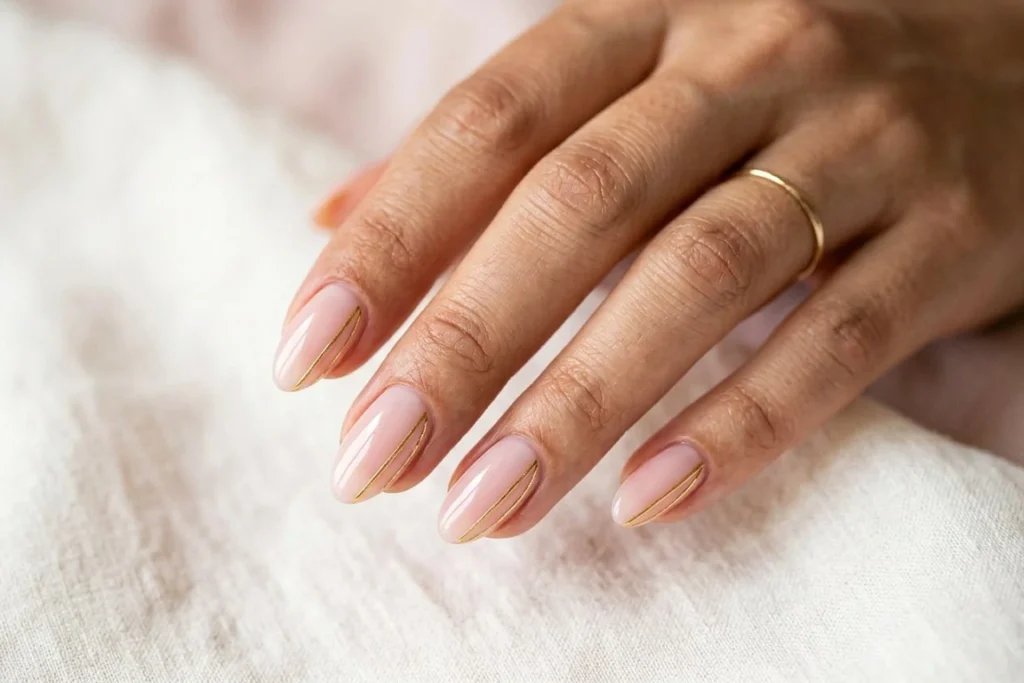
Draw one thin line along the side of the nail with a fine brush.
20. Negative Space Stripe
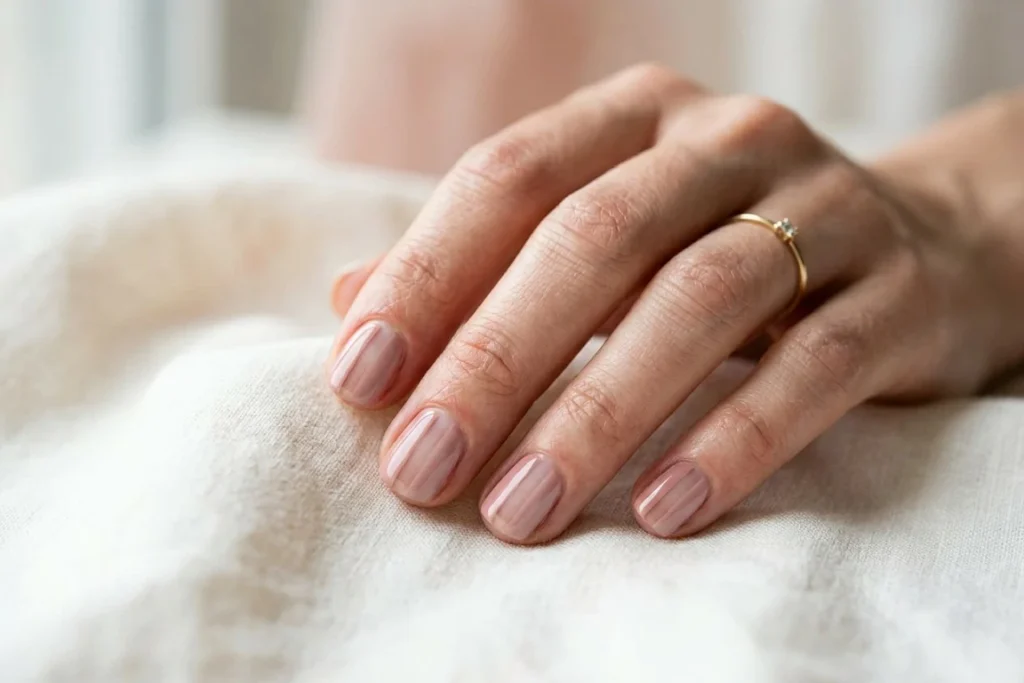
Leave a thin gap of bare nail between two colored sections for a clean, modern look.
Minimal Art
21. Tiny Heart
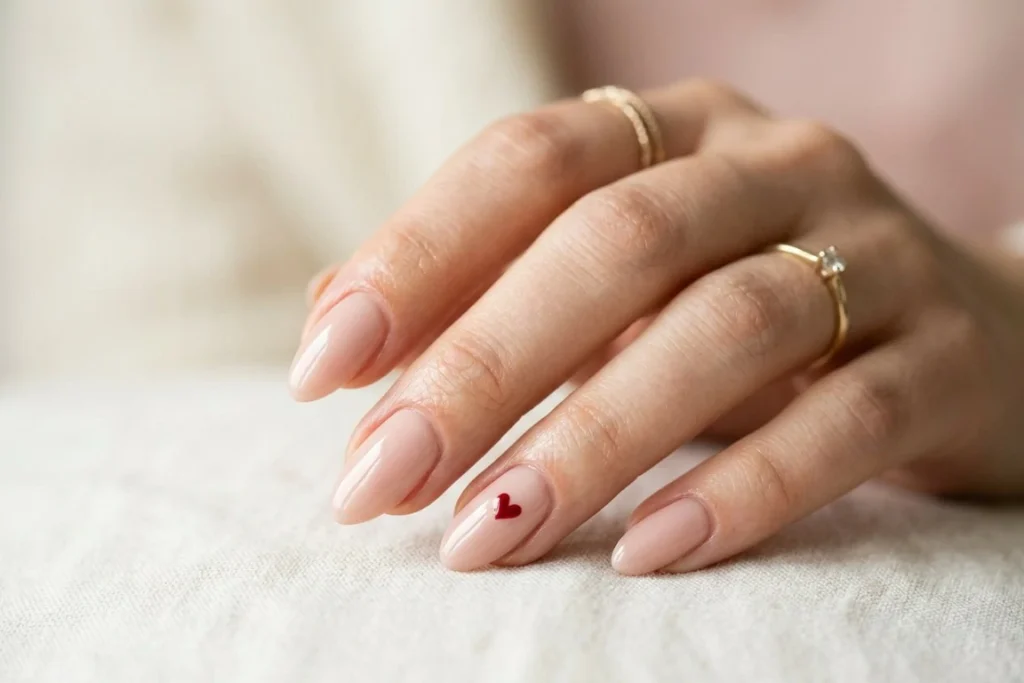
Paint a tiny heart on the ring finger. Two strokes are enough if you use a fine brush.
22. Star Accent

A small star on one nail is simple and recognizable.
23. Crescent Moon

A thin crescent in gold or white on a dark base is a quick, elegant design.
24. Simple Leaf
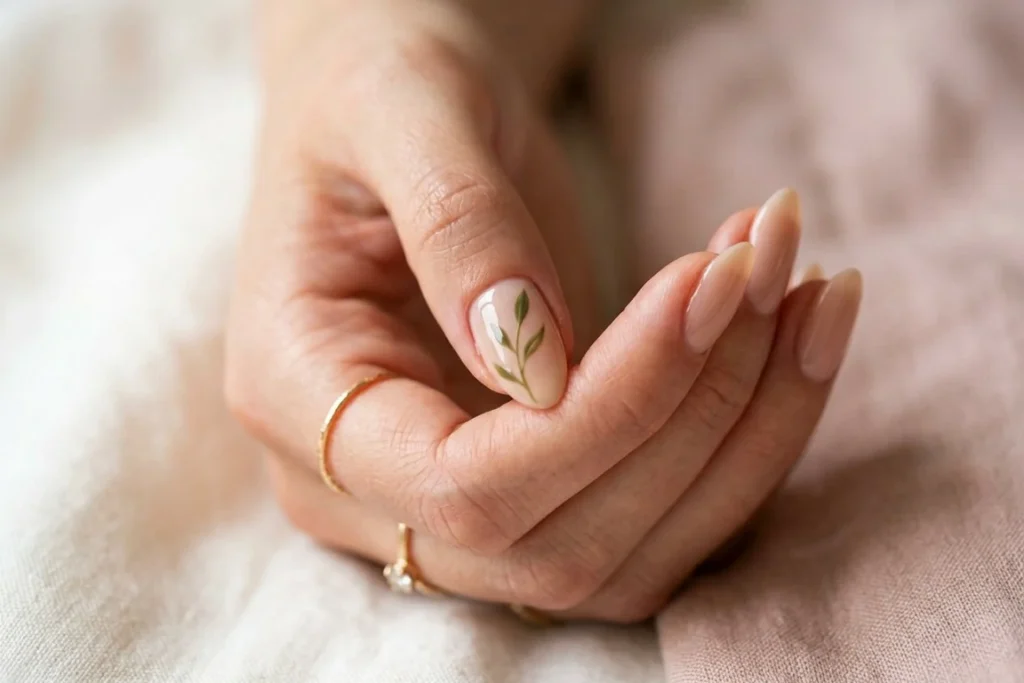
Two strokes make a leaf on an accent nail. Use green or gold for a seasonal touch.
25. Abstract Swirl
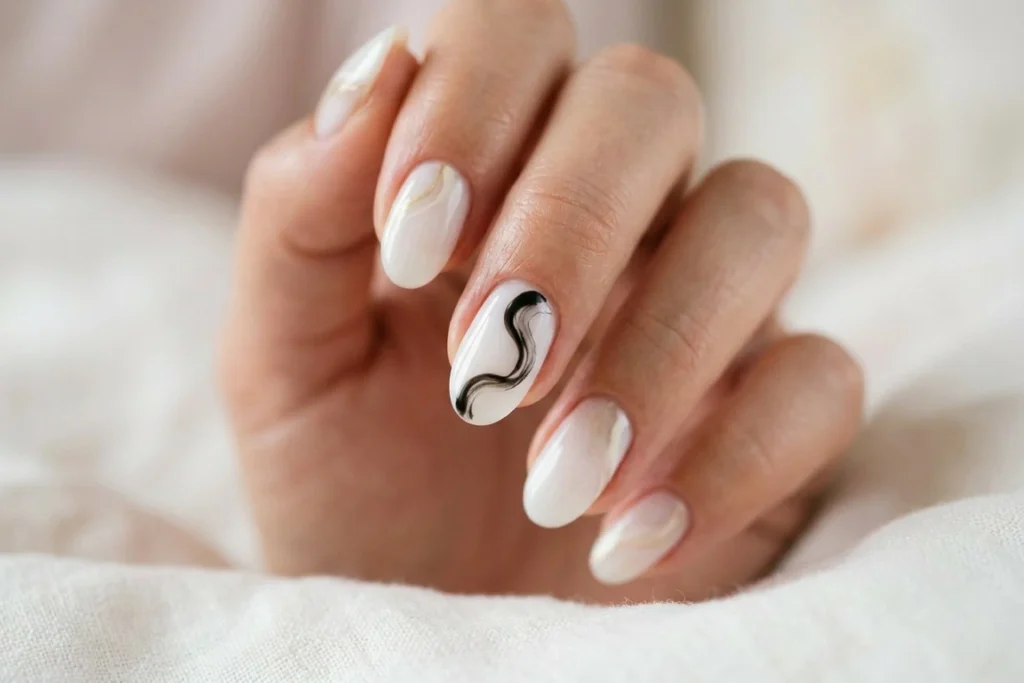
Draw a loose curve across one nail. Imperfect lines look more natural.
Color Blocking
26. Half and Half
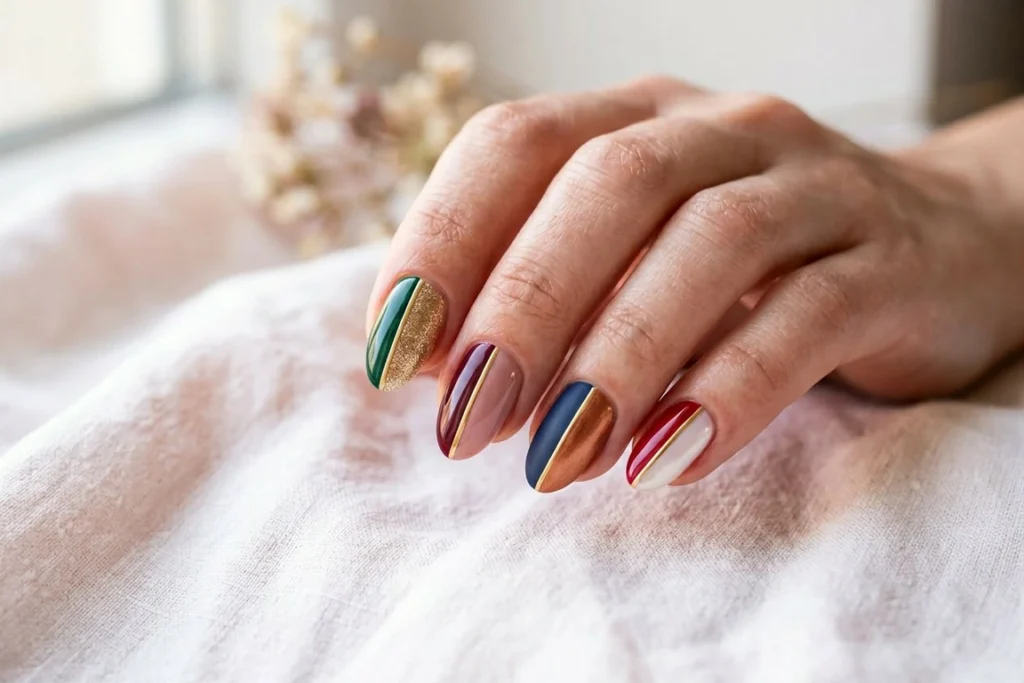
Split each nail in half with a straight line of tape, then paint each half in a different color.
27. Color Block Accent
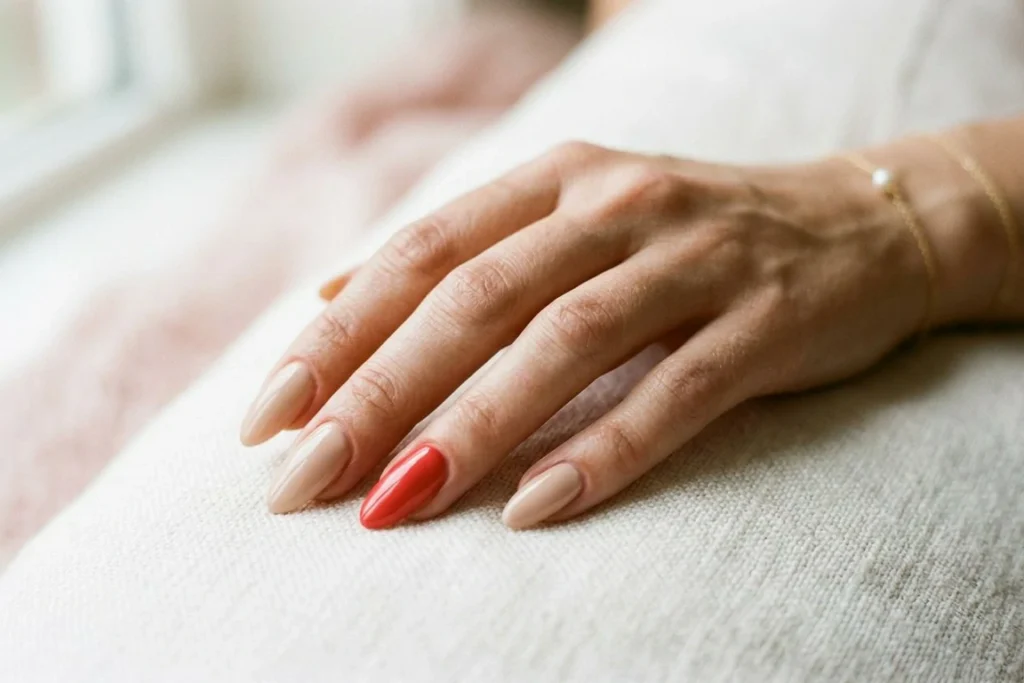
Paint one nail in a bold color and leave the rest in a soft neutral.
28. Geometric Triangle

Use tape to create a triangle on one nail. Remove the tape carefully for clean edges.
Easy Marble and Texture
29. Quick Marble
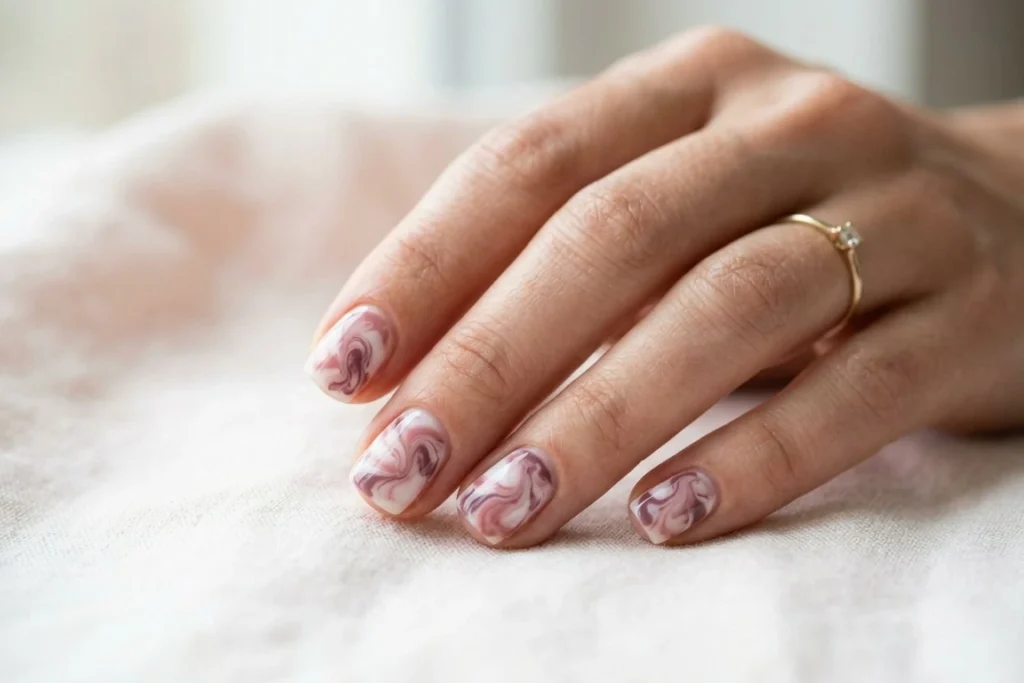
Drop two polish colors onto a wet base, swirl gently with a toothpick, and seal with a top coat.
30. Sponge Gradient
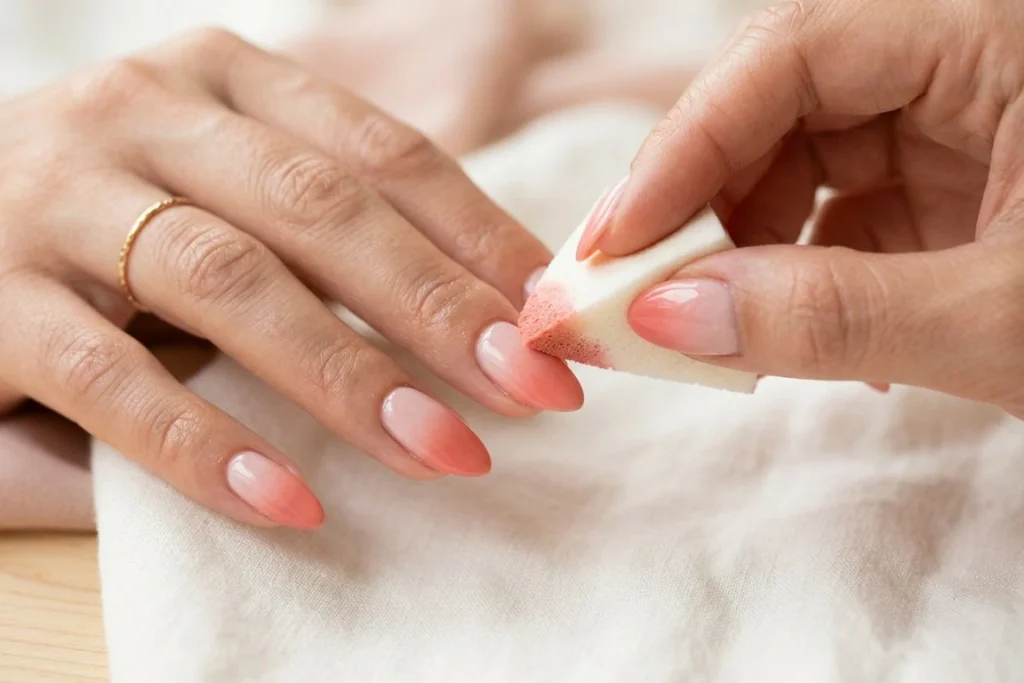
Dab two colors onto a makeup sponge and press them onto the nail for a soft blend.
Tips for Clean Results
1. Apply a base coat first. It protects the nail and helps color last.
2. Paint thin layers. Thick polish smudges more easily.
3. Let each layer dry for a minute before adding details.
4. Remove mistakes with a cotton swab and nail polish remover before they dry.
5. Start with one accent nail and add more detail once you feel confident.
Frequently Asked Questions
What is the easiest nail design for beginners?
A single accent nail or a simple French tip. Both need one color and one steady line.
Do I need special tools for easy nail designs?
No. A toothpick can make dots, and a cotton swab can clean edges. A dotting tool and striping tape make the work faster.
How long do easy nail designs take?
Most of the designs here take 5 to 15 minutes, including drying time.
How do I stop my nail art from smudging?
Let each layer dry fully, use thin coats, and finish with a glossy top coat.
Related Reading
- Nail art tutorial: step-by-step guide
- Cute nail designs for any occasion
- Nail art ideas for every style and skill level
30 Cat Eye Nail Ideas That Shine From Every Angle
Some manicures change completely when the light moves. That is exactly what cat eye nails …