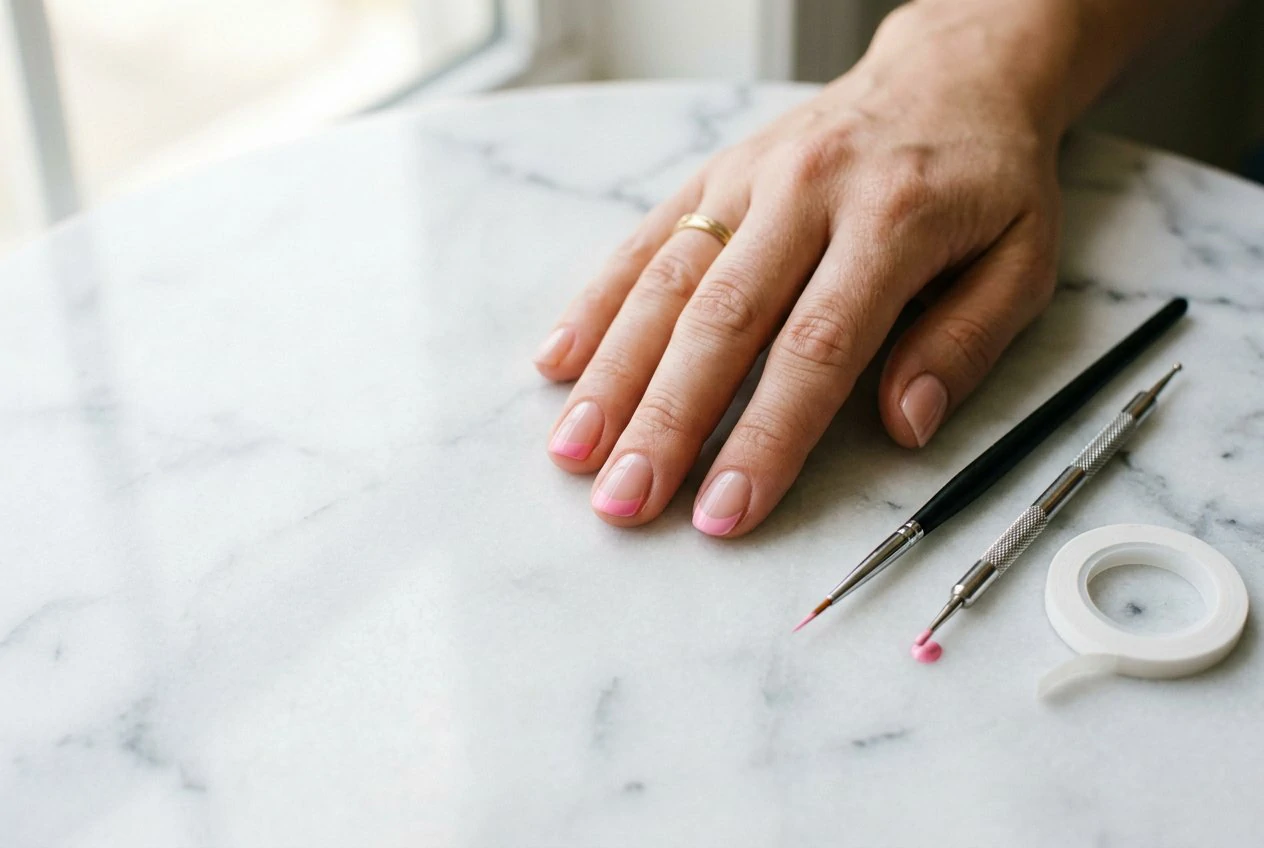
A nail art tutorial makes the process look hard until you see the steps. Once you understand the order, the work is simple: prep the nail, lay a base, add the design, then seal it. This tutorial walks through the full process with one design, a pink French tip with a small white dot, so you can practice each technique on the way. Plan about 30 minutes for your first set, including drying time.
What You Need
- Base coat and glossy top coat
- Two polish colors (a sheer pink and a white)
- A fine liner brush or toothpick
- A dotting tool
- Cotton swabs and polish remover
- Optional: striping tape and a small bowl of warm water
Step 1: Prep the Nail
Push back your cuticles gently and remove any oil from the nail surface. File the nail into the shape you want, then wipe it with a lint-free pad. Clean nails help polish stick and last longer.
Tip: Do not cut the cuticle. Pushing it back is enough.
Step 2: Apply a Base Coat
Brush a thin layer of base coat over each nail and let it dry for about one minute. The base protects the natural nail and stops staining from darker colors.
Step 3: Add the Sheer Color
Paint one thin coat of sheer pink over each nail. Keep the brush strokes short and smooth. Let it dry completely before the next step.
Tip: If the color looks patchy, wait a minute and add a second thin coat instead of one thick one.
Step 4: Paint the French Tip
Load a fine brush with white polish. Starting from one side of the nail, draw a gentle curve across the tip, then fill the gap toward the center. Keep the line even and clean up the edges with a cotton swab dipped in remover.
Tip: Use the swab right away while the polish is still wet. Dried mistakes are harder to fix.
Step 5: Add the Dot Accent
Dip the dotting tool into the white polish and place one dot near the center of the nail, just below the tip. For a softer look, make the dot slightly smaller than your fingernail width.
Step 6: Let It Dry
Wait at least five minutes before touching anything. Polish that feels dry on top can still smudge underneath.
Step 7: Seal the Design
Apply a glossy top coat over each nail. Cover the tip edge completely to seal the design. Let it dry for about 10 minutes, then apply cuticle oil.
Common Mistakes and How to Fix Them
The Line Is Wobbly
Use a smaller brush and go slower. Tape the sides of the nail to guide your line.
The Polish Smudges
Wait longer between steps. Thin coats dry faster and smudge less.
The Dot Is Too Big
Wipe it off with a toothpick and try again with less polish on the tool.
The Top Coat Lifts the Design
Make sure each layer is fully dry. Thick layers can wrinkle under a top coat.
25 Practice Designs for Next Time
Once you have the steps down, these designs give you a simple way to practice each technique. Start with the first few, then move on to the rest as your hand gets steadier.
1. Diagonal Stripes
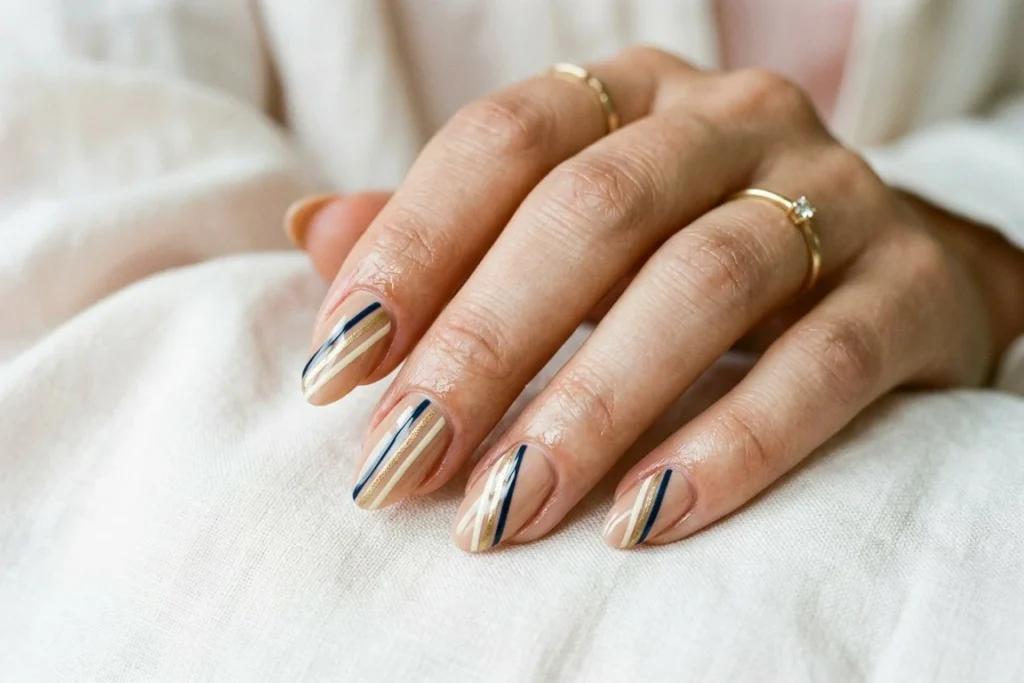
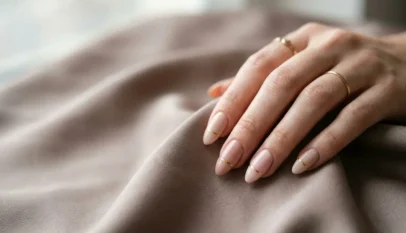
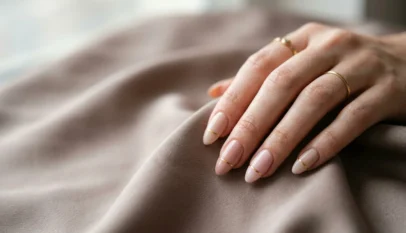
Two thin diagonal stripes in white run across a sheer nude base, one stripe on each side of the nail. The lines look crisp and graphic when they are placed evenly. Striping tape gives you a straight edge to paint against.
2. Floral Dots

Five small dots form a ring around one center dot, which creates a simple flower on a pale base. The shape is easy to repeat on every finger and looks cheerful in spring. Use a dotting tool so each dot stays the same size.
3. Half-Moon Tip
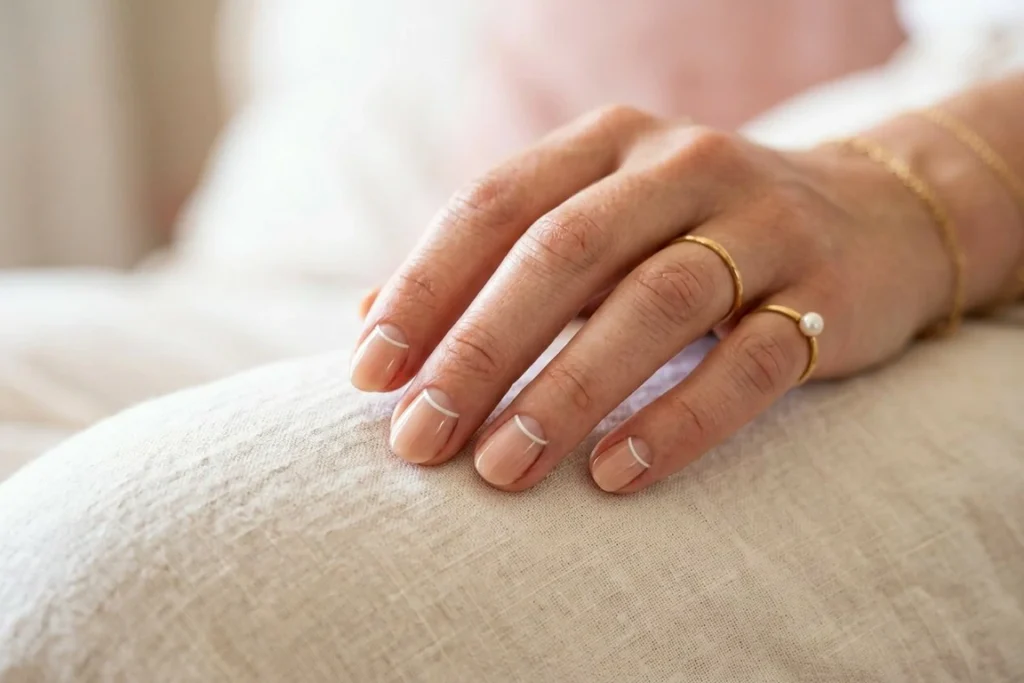
A thin curve is painted at the base of the nail, instead of at the tip, to create a half-moon shape. The reversed French look feels modern and works well on short and oval nails. Keep the curve steady and fill the space with a sheer color.
4. Gradient Blend
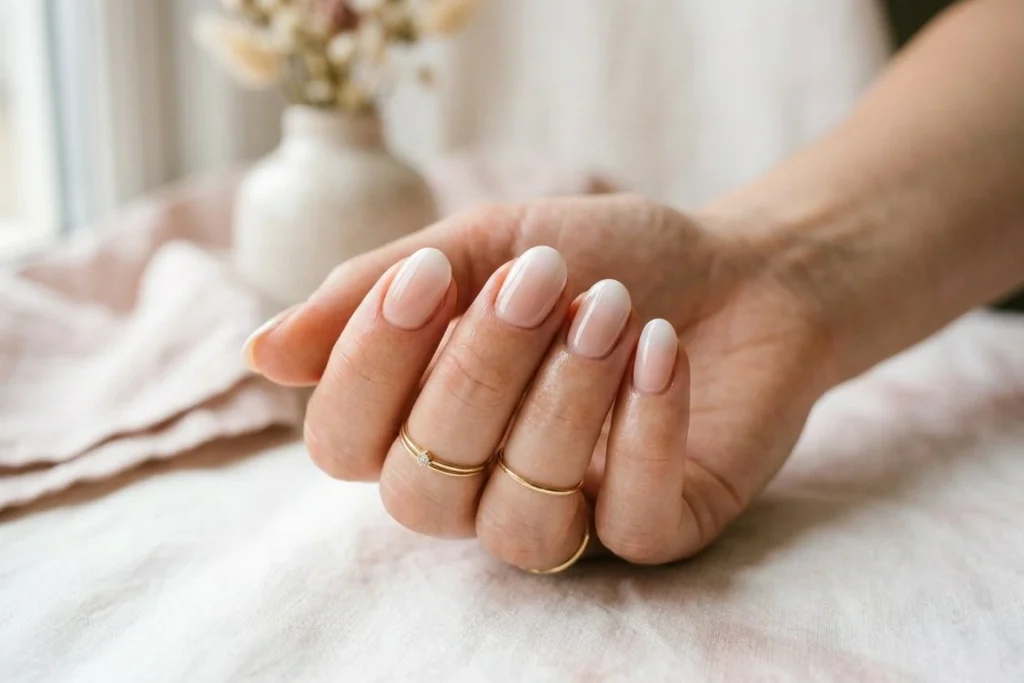
Two colors are dabbed onto a makeup sponge and pressed onto the nail, so they blend into a soft gradient. The effect looks polished and is forgiving because small mistakes disappear into the blend. Work quickly while the polish is still wet.
5. Dotted Marble

Small drops of two or three shades are placed on a wet base and swirled gently with a toothpick. The result looks like stone and no two nails match. Stop swirling before the colors turn muddy.
6. Sheer Glitter Tip

Fine glitter is applied to the tip of a sheer base, with the tip line softened by a sponge. The sparkle looks light and festive without covering the nail. Use two thin coats for an even finish.
7. Double French Line
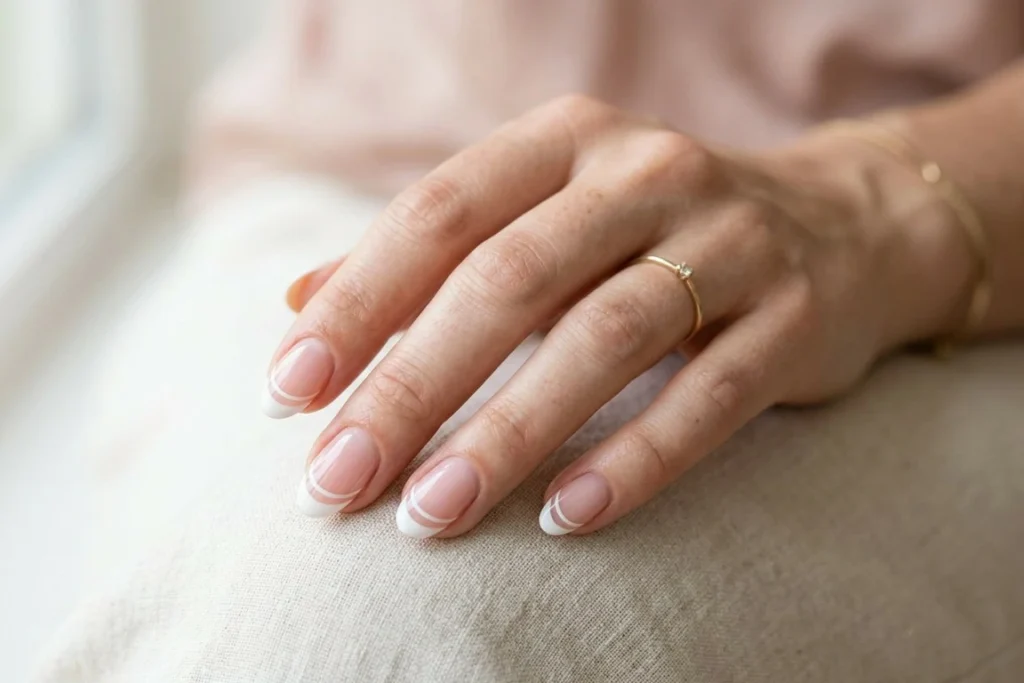
Two thin white lines are painted across the tip, spaced evenly apart on a nude base. The double line feels refined and gives a clean upgrade to the classic French tip. Use striping tape to keep both lines straight.
8. Negative Space Tip
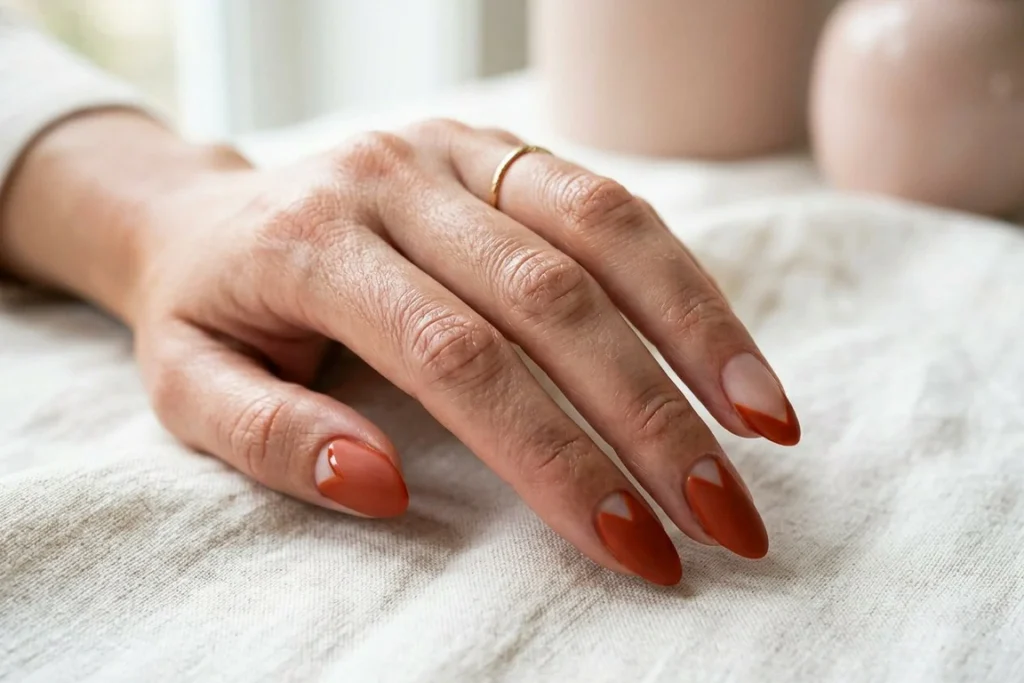
A small section at the tip is left bare, and the color is painted around it to create a clean open shape. The contrast looks modern and works with almost any base color. Tape the shape first so the edges stay sharp.
9. Mini Heart Accent
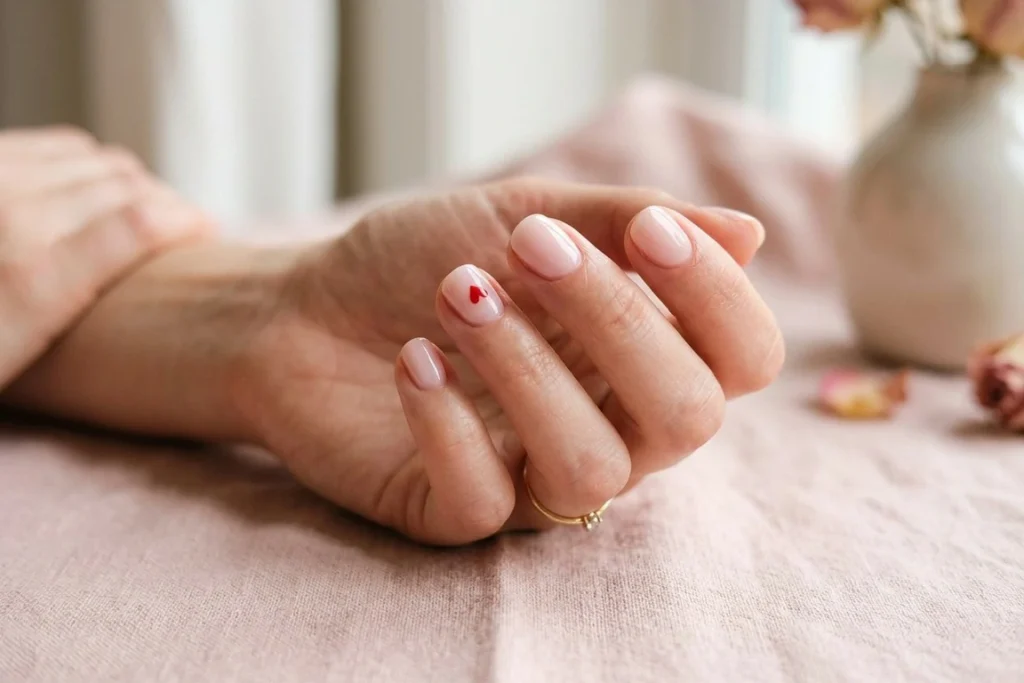
One small heart is painted on the accent nail, centered on a pale pink base. The simple shape looks sweet and works for Valentine’s Day or any everyday set. Keep the heart small so it reads as a detail.
10. Striped Accent Nail
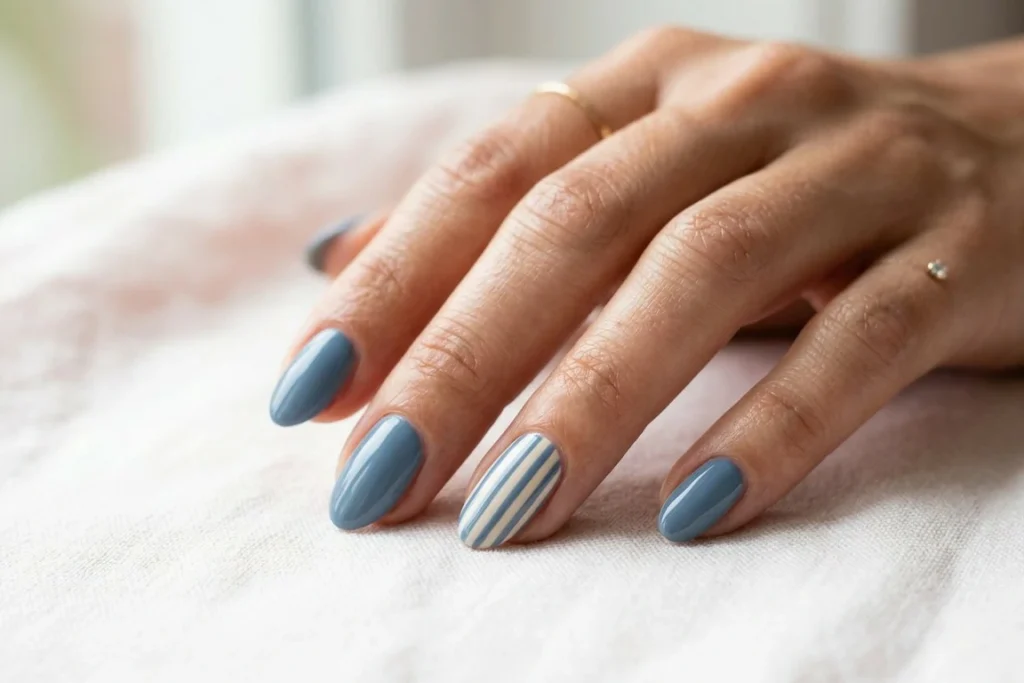
One nail carries vertical stripes in two colors, while the other nails stay solid. The single striped nail adds interest without making the set busy. Use a fine liner brush for steady lines.
11. Gold Line Accent

A thin gold line runs along the side of each nail on a black or deep base. The line looks sleek and adds a touch of shine. Paint it with a steady hand and let it dry fully before sealing.
12. Checkerboard Corner
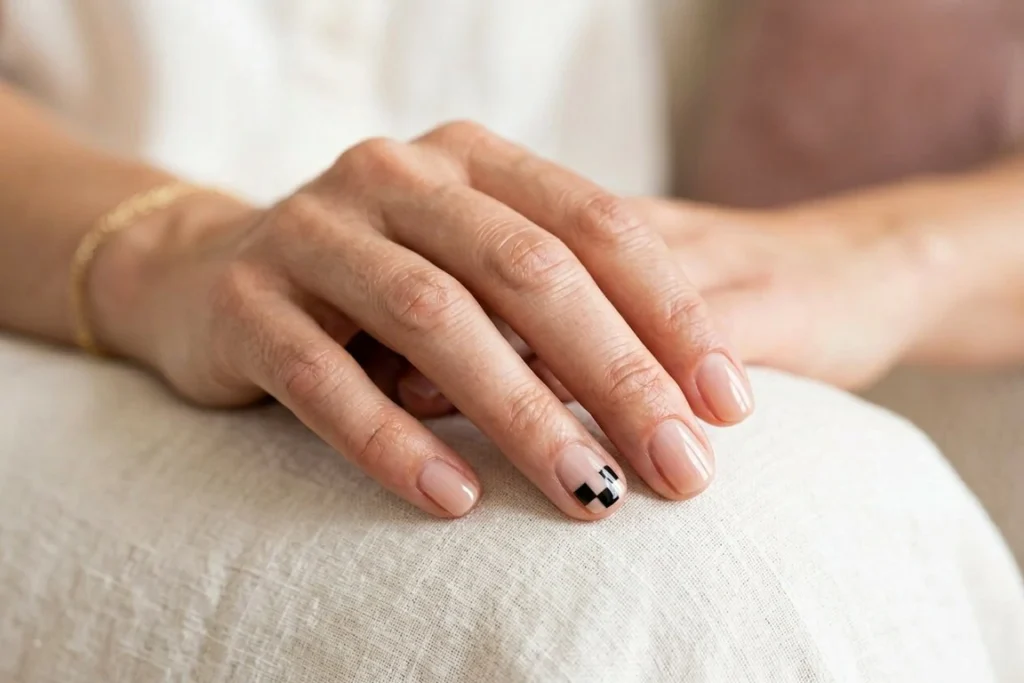
A small checkerboard of four squares is placed in one corner of the nail, leaving the rest of the nail clean. The pattern adds a playful, graphic detail. Tape the grid first to keep the squares even.
13. Sponge Ombré

A sponge is used to blend two shades from the cuticle to the tip, creating a soft gradient. The technique gives a wide range of color combinations and looks polished. Press the sponge lightly and repeat for an even blend.
14. Watercolor Dot

Soft dots of pale color are dropped onto a wet base and allowed to spread into a watercolor look. The loose shapes feel relaxed and works well in spring and summer. Let the dots dry before adding a top coat.
15. Leopard Spots
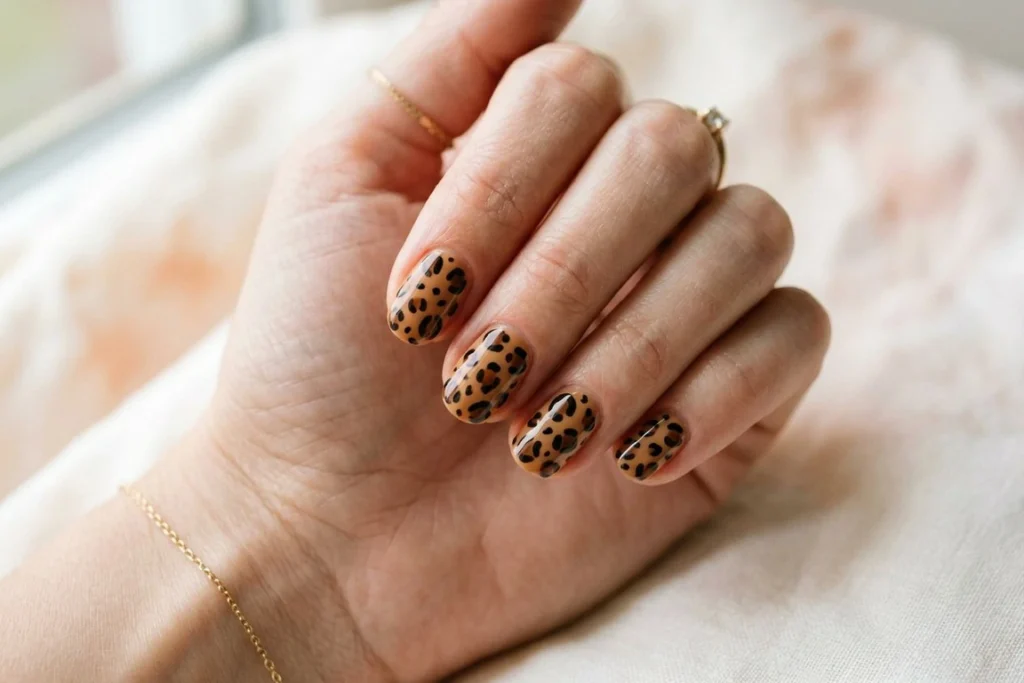
Small irregular spots in brown and black are painted over a caramel base to create a leopard print. The pattern looks bold but stays wearable. Vary the size of each spot for a more natural look.
16. Bow Accent

A small bow with two loops and a center knot is painted on one accent nail. The detail looks sweet and works well on pink or nude bases. Keep the loops symmetrical so the bow looks neat.
17. Chevron Stripes

Thin stripes are painted at an angle to form a zigzag, or chevron, pattern across the nail. The shape feels modern and works with two contrasting colors. Use tape to guide each angle.
18. Half-Moon Gradient
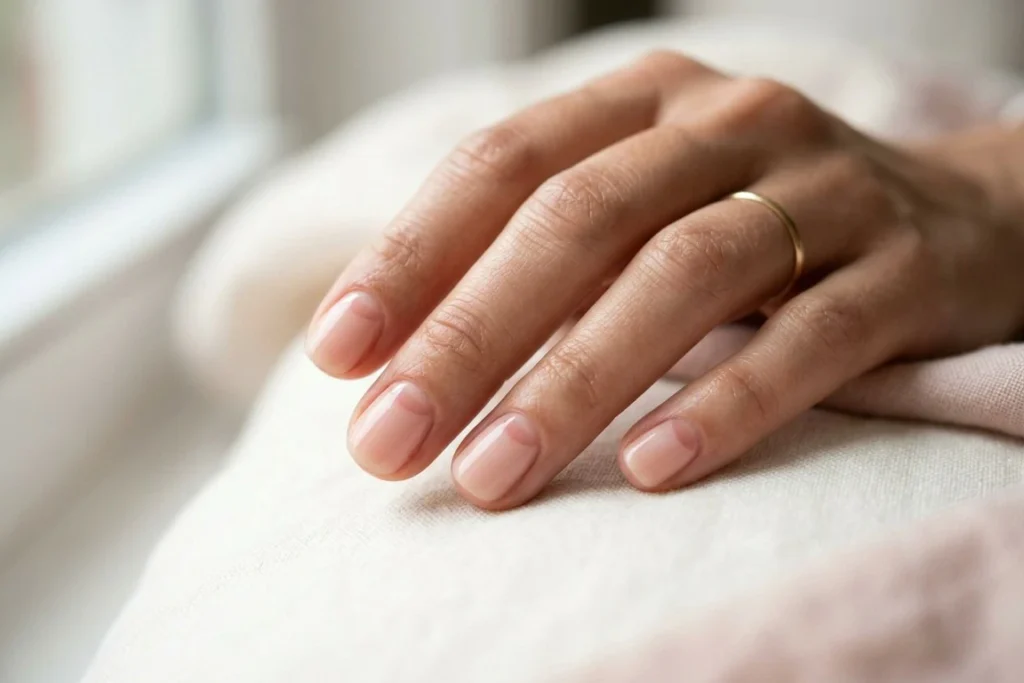
A soft gradient is blended only at the cuticle, creating a half-moon shape of color. The look is subtle and elegant on short nails. Apply the gradient with a sponge and seal it with a glossy top coat.
19. Stamped Lace
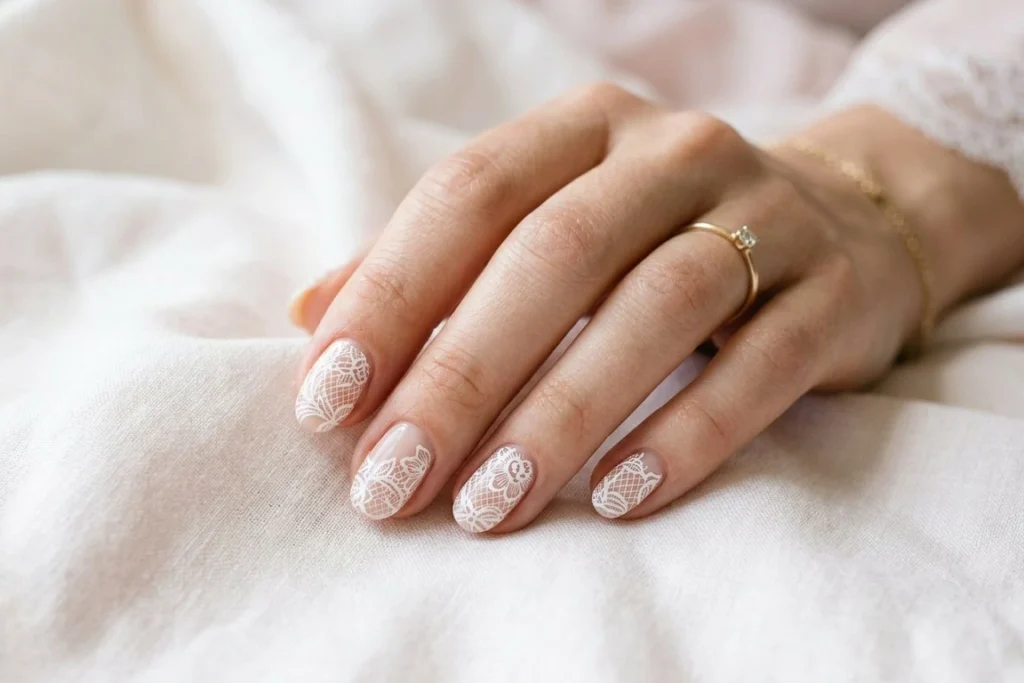
A lace-look pattern is stamped onto the nail in a single color over a sheer base. The fine lines look delicate and romantic. Wipe the stamper clean between each nail for crisp detail.
20. Chrome Accent Tip
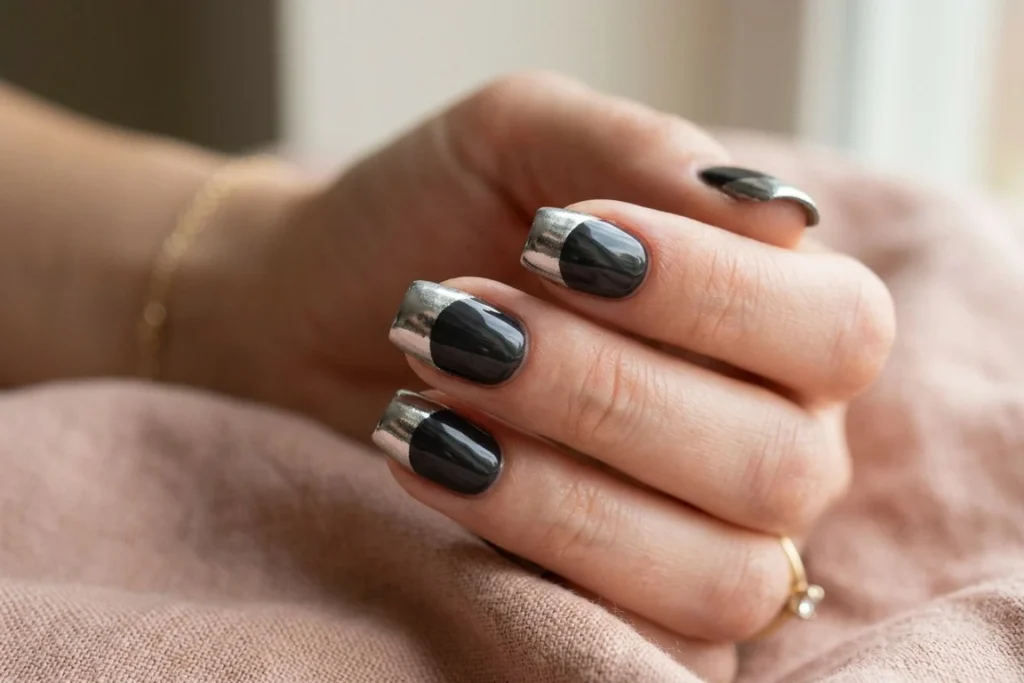
A metallic chrome powder is rubbed onto the tip of a dark base, leaving the rest of the nail glossy. The shine adds drama in a small area. Seal the chrome with a top coat to keep it from smudging.
21. Star Accent

One small star is placed near the cuticle on a soft base, with two or three tiny stars around it. The cluster looks playful and works well for holidays or birthdays. Use a dotting tool to create the stars.
22. Smile Line

A curved line is painted across the lower third of the nail, like a small smile. The shape looks cheerful and is quick to repeat. Keep the curve gentle so it stays neat.
23. Two-Tone Split
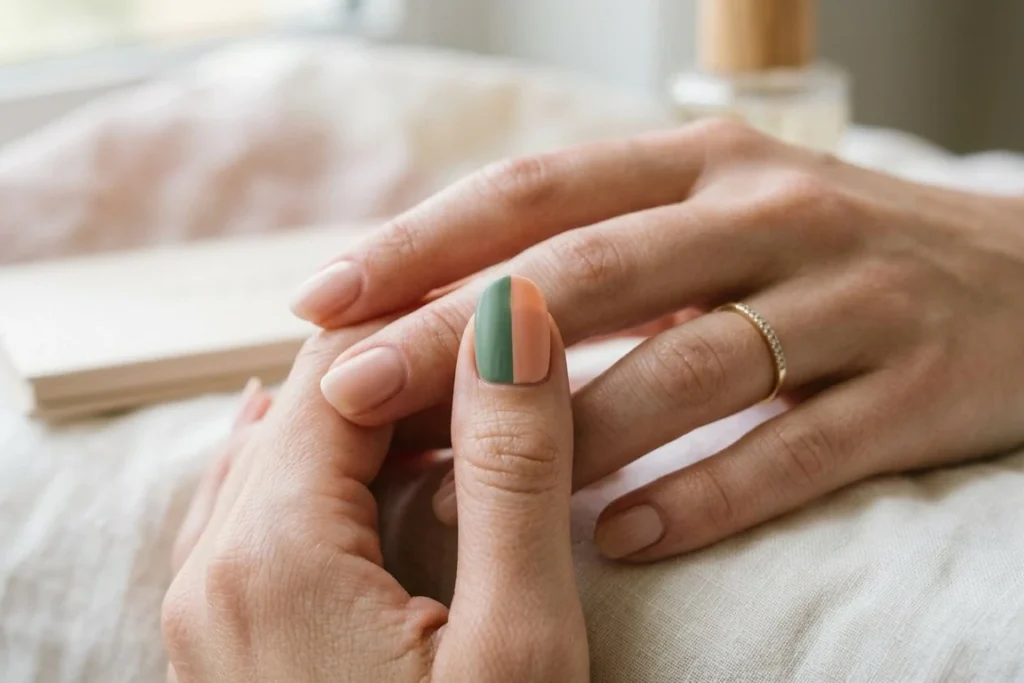
The nail is split down the middle, with one half in one color and the other in a second color. The clean division looks modern and works well for practice. Tape the center line first for a sharp edge.
24. Speckle Dots

Tiny dots in mixed colors are scattered across a neutral base, creating a confetti-like texture. The pattern feels fun without needing precise shapes. Use a fine brush to place each dot at a different spacing.
25. Triangle Color Block

A triangle of one color is painted on the nail’s tip, with the rest of the nail in a neutral shade. The bold geometric shape looks clean and works well on square or coffin nails. Tape both edges of the triangle for crisp lines.
Frequently Asked Questions
How long does a nail art tutorial take for beginners?
Most first sets take 30 to 45 minutes, including drying. Practice makes it faster.
Do I need gel to do nail art?
No. Regular polish works well for beginners. Gel lasts longer, but it requires a lamp.
What is the easiest nail art to learn first?
A French tip and a single dot. Both need only one steady line and a dotting tool.
How do I clean up mistakes?
Use a fine brush dipped in remover, or a cotton swab wrapped around a toothpick, while the polish is wet.
Related Reading
- Easy nail designs for beginners
- Cute nail designs for any occasion
- Nail art ideas for every style and skill level


30 Cat Eye Nail Ideas That Shine From Every Angle
Some manicures change completely when the light moves. That is exactly what cat eye nails …